


Cheesy Grits, aka Polenta
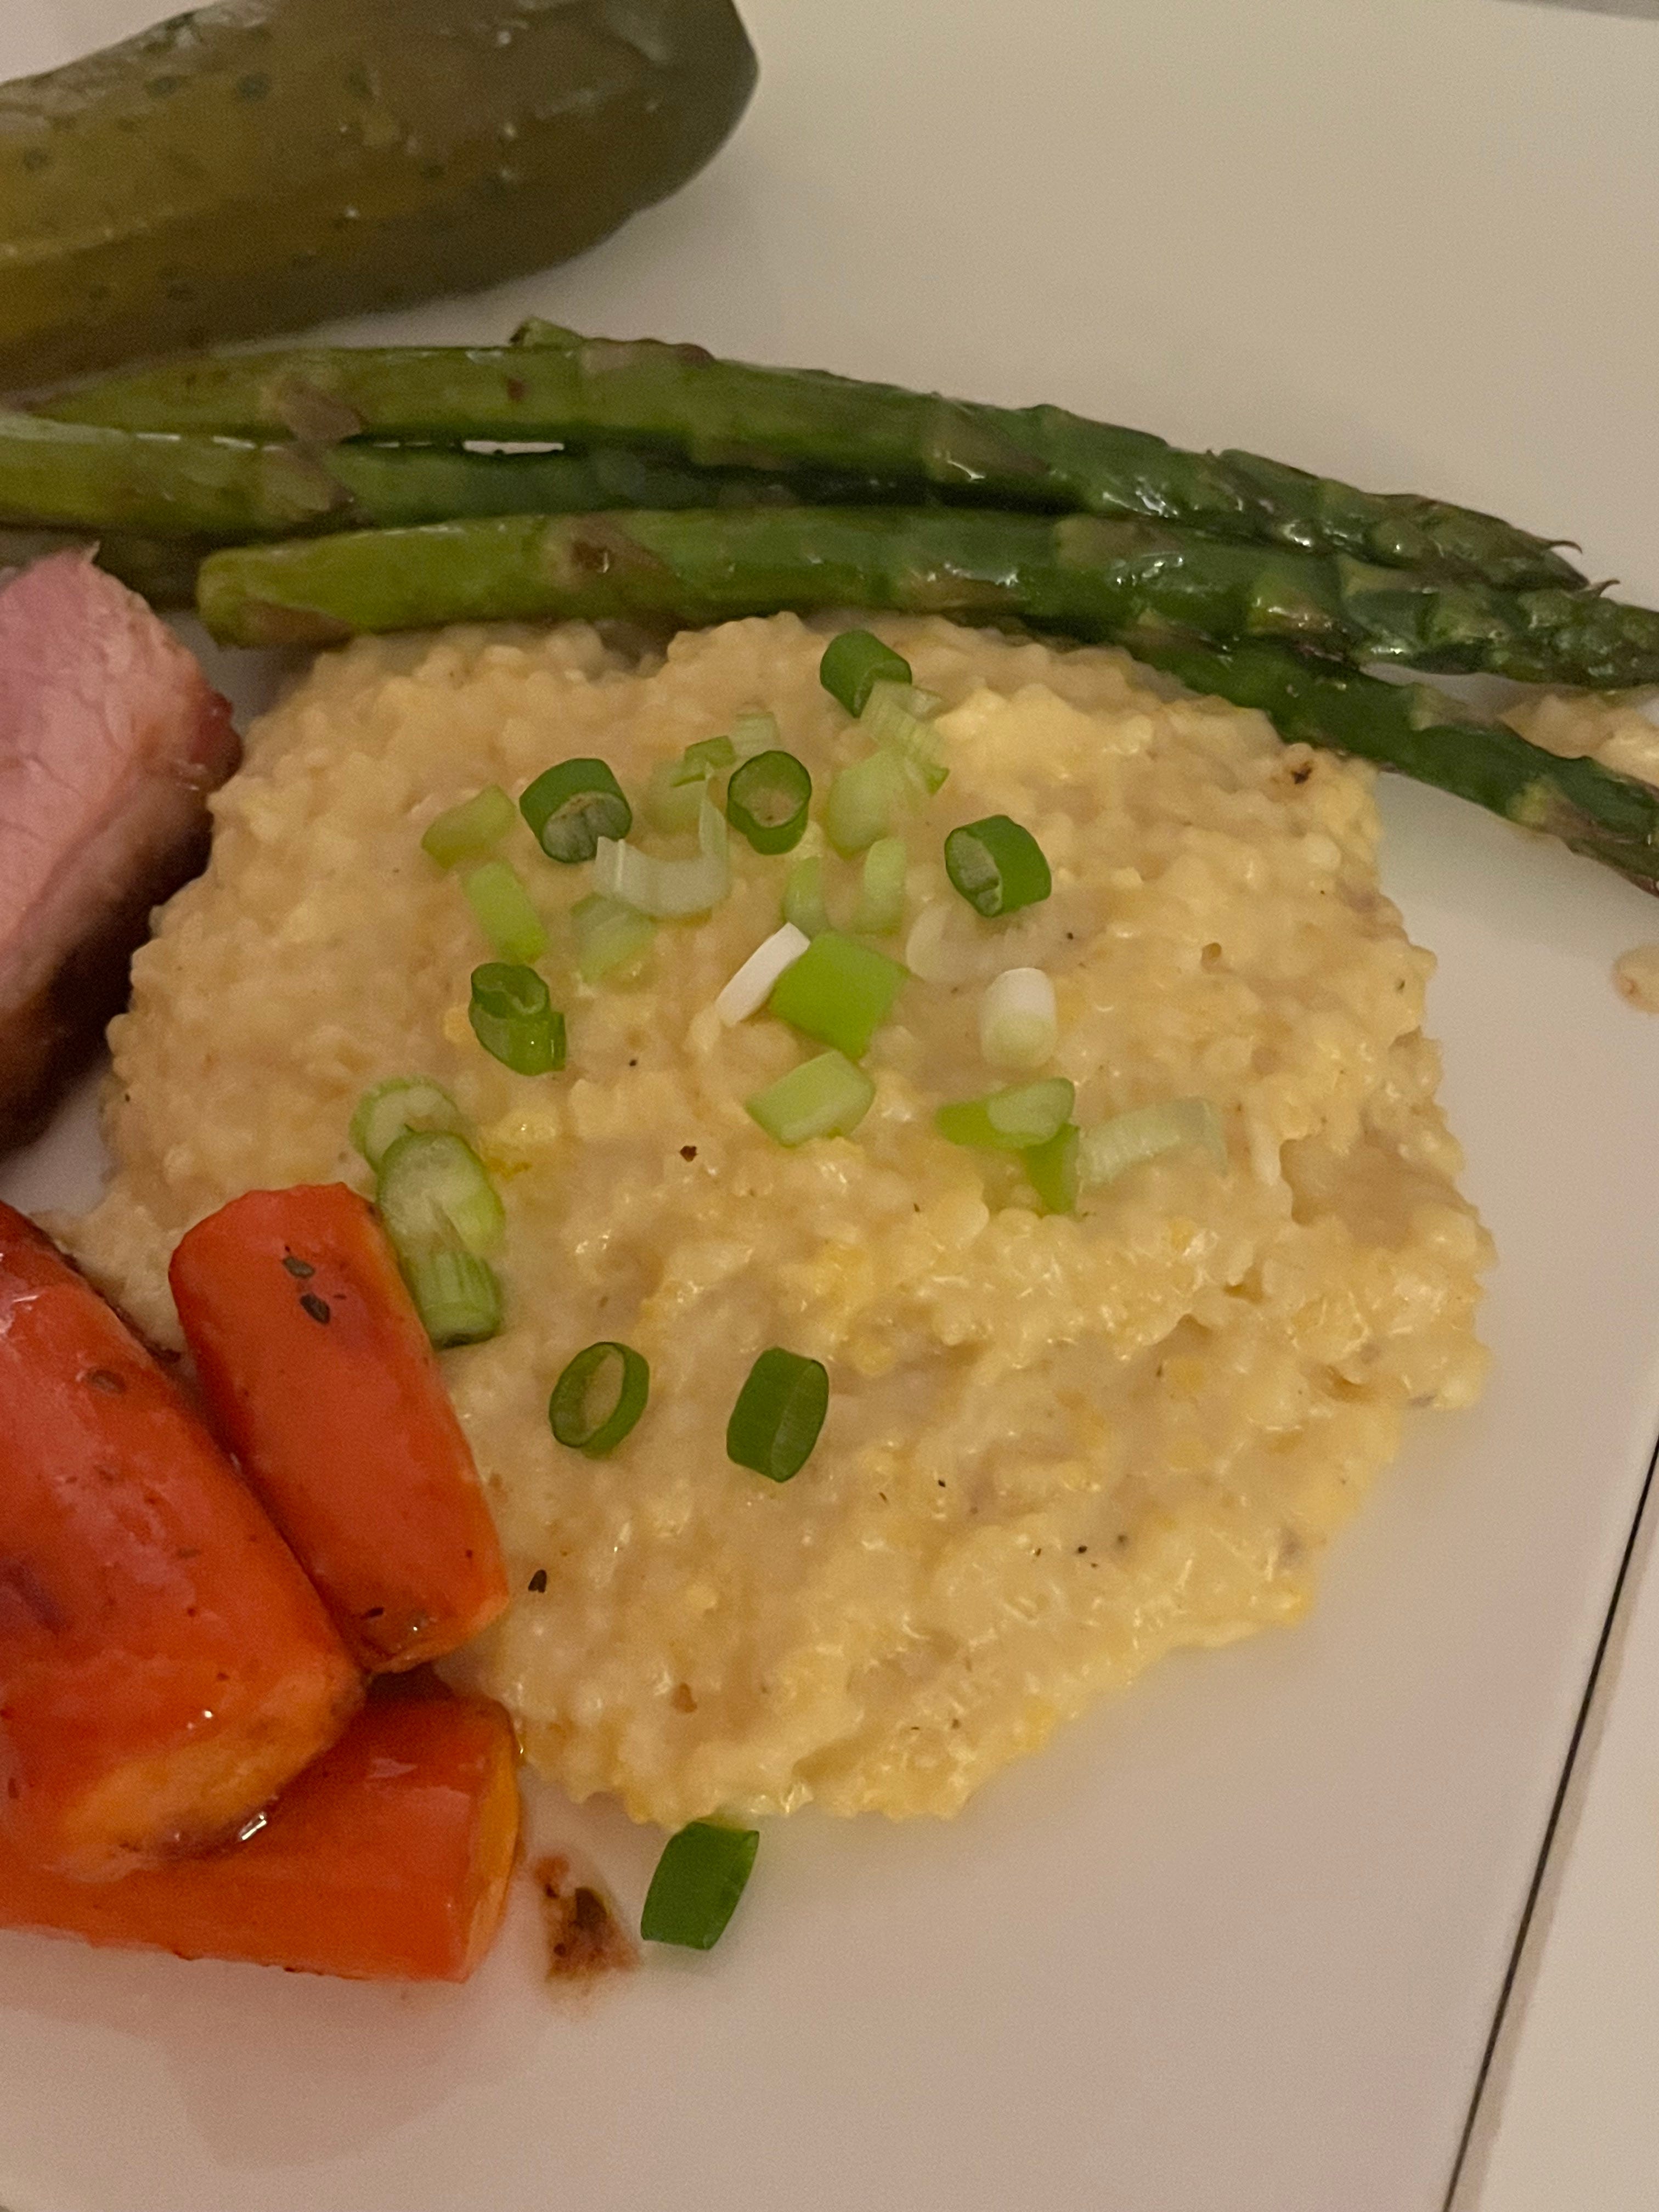
You may have tried this creamy, corn-based dish as grits or as polenta, but either way, they make a very satisfying side dish for any meal.

My first experience with grits must have been an instant version that lacked any milk, cheese, or butter. How else to explain why I thought I disliked grits for so long? Because once I started cooking them myself, I realized how absolutely delicious they are.
Many people who aren’t from the southern region of the U.S.—like me—probably won’t be familiar with grits—unless you’ve been to a nice Italian restaurant where you were served polenta. Because, yep, southern grits and Italian polenta are the same thing: ground corn cooked with stock and milk until smooth and creamy. Polenta does sound more pleasant, doesn’t it? Grits sound gritty. But they’re not.
If you’re tired of rice or potatoes as a starchy side dish, try grits instead! Like rice or mashed potatoes, they will absorb a lot of liquid, so they take on the flavors of the cooking liquid. In my recipe, we’ll use stock and milk, then add cheese and butter.
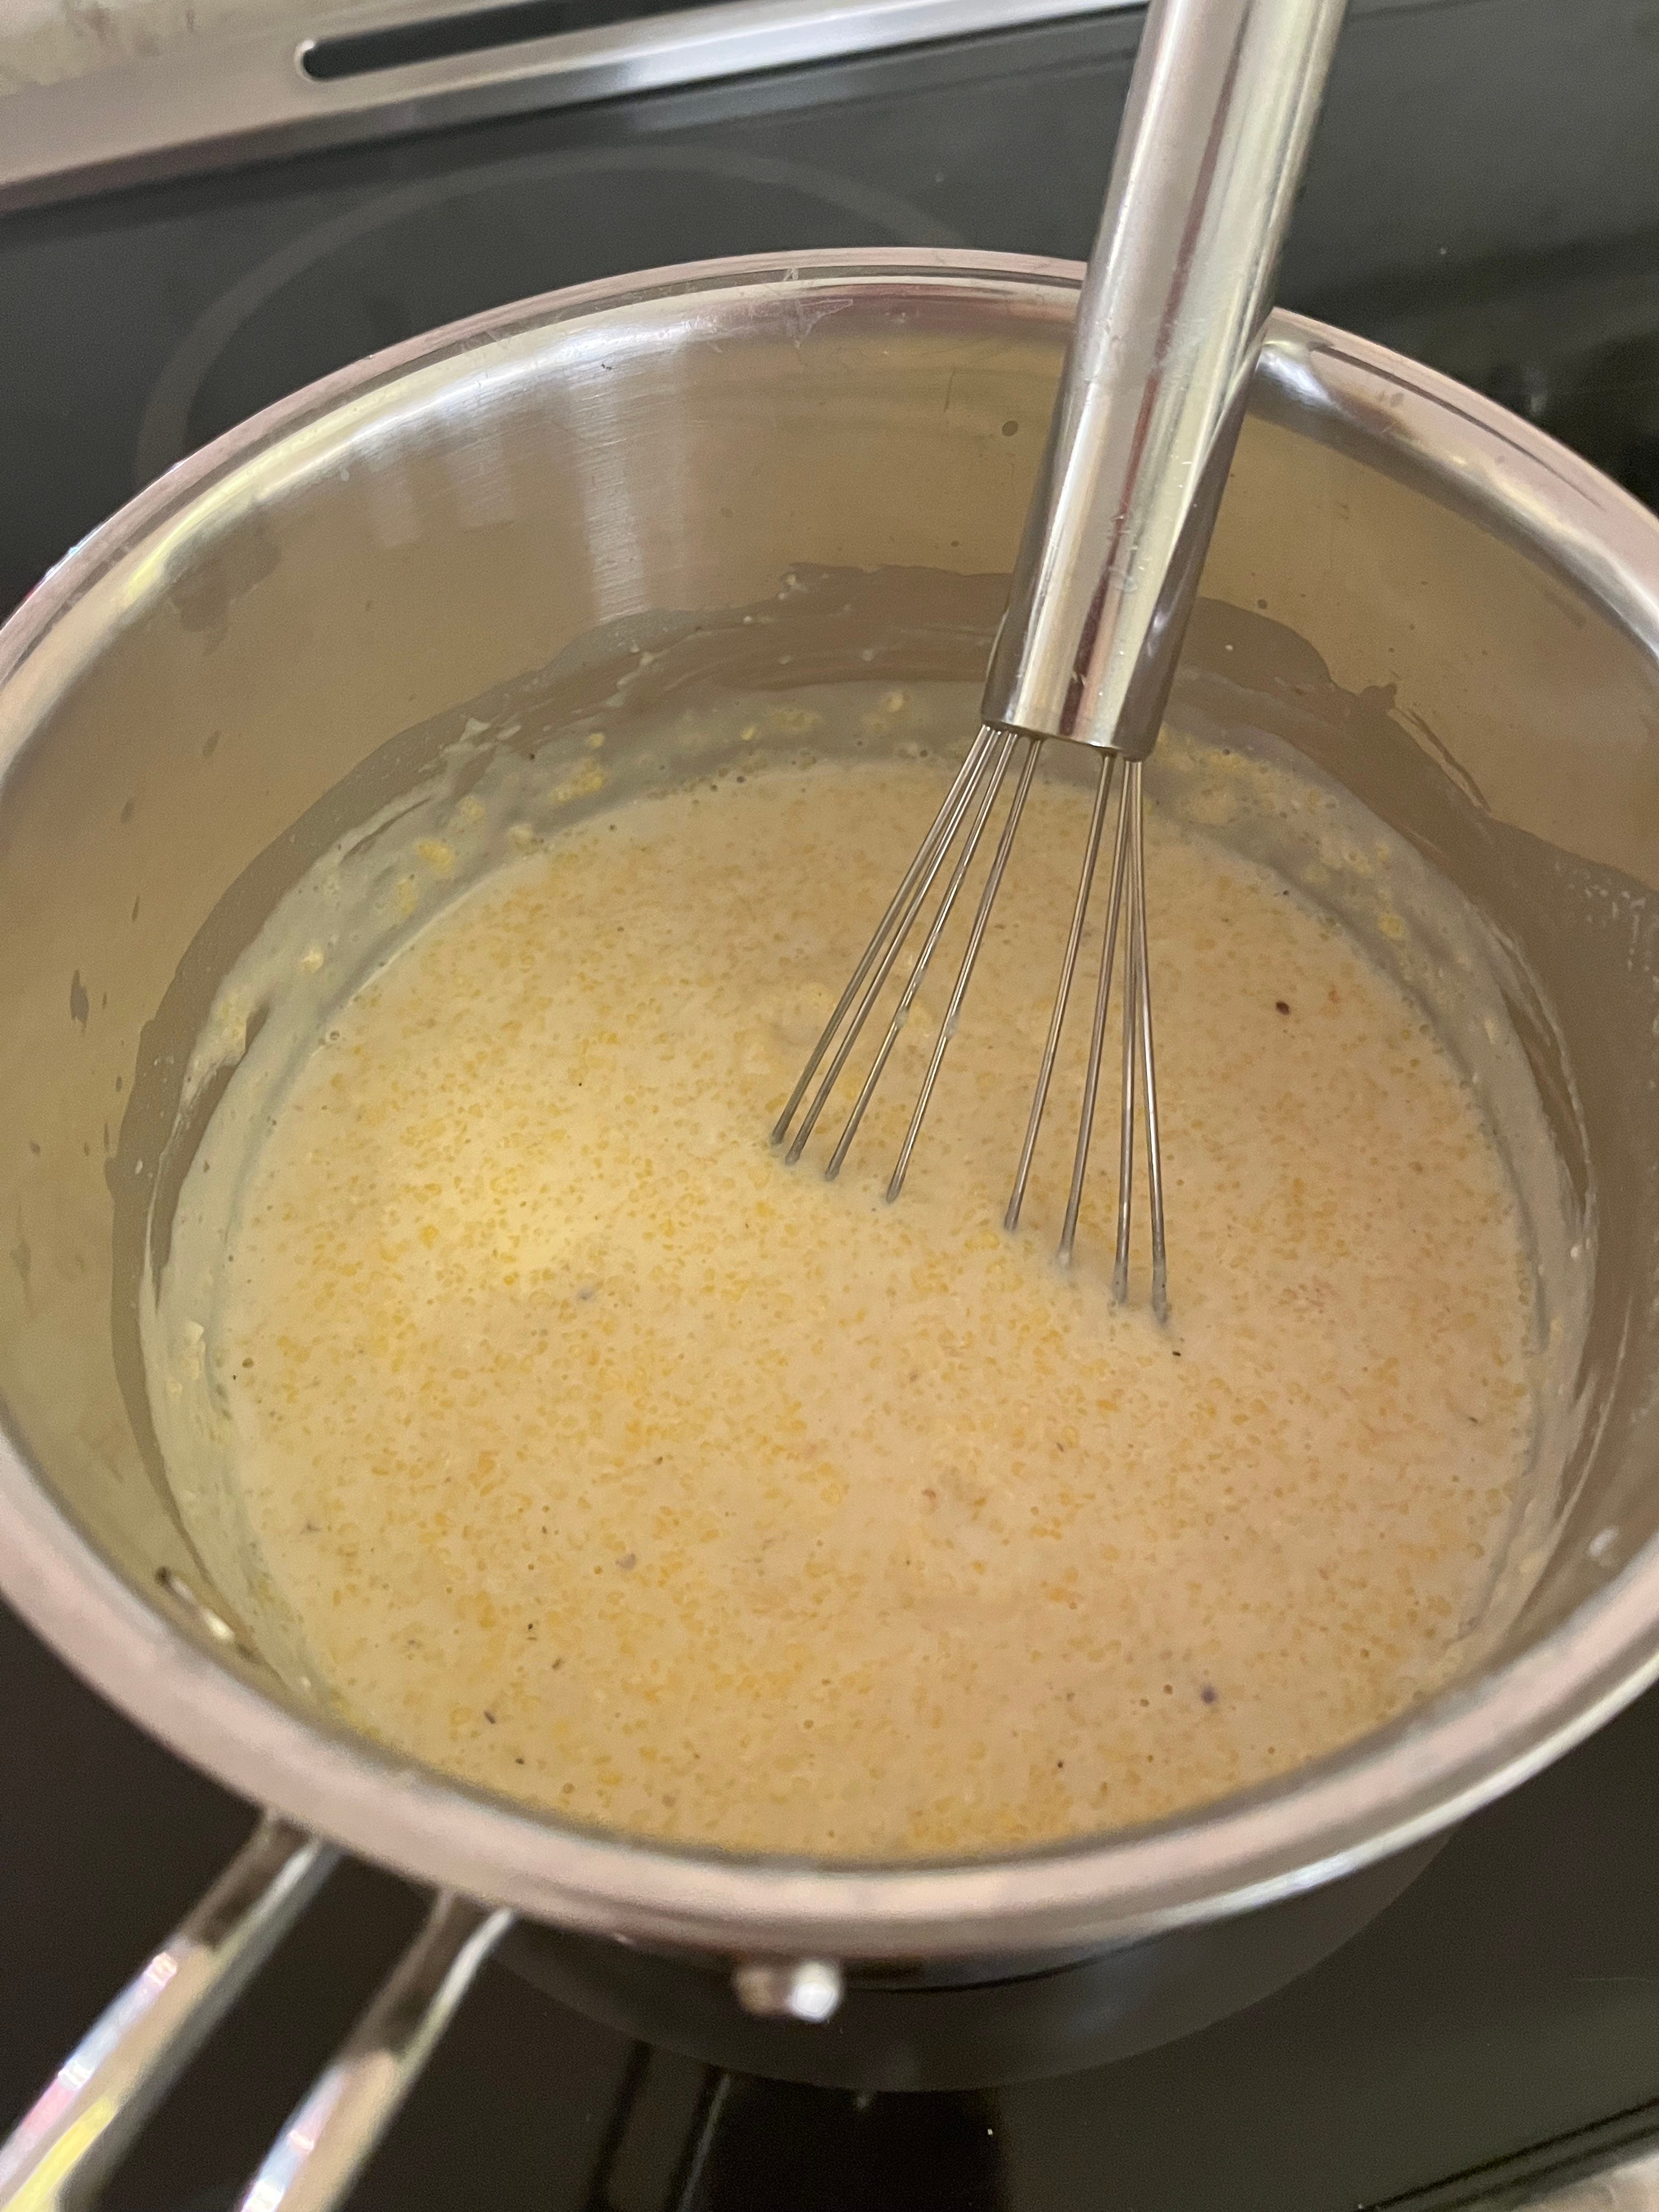
For this recipe, you’ll need a saucepan and measuring cups, and I’d recommend having a flat wire whisk for mixing the grits as they cook, but you can use a wooden spoon or a spatula instead.
Scroll to the bottom for the cat update!
Ingredients:
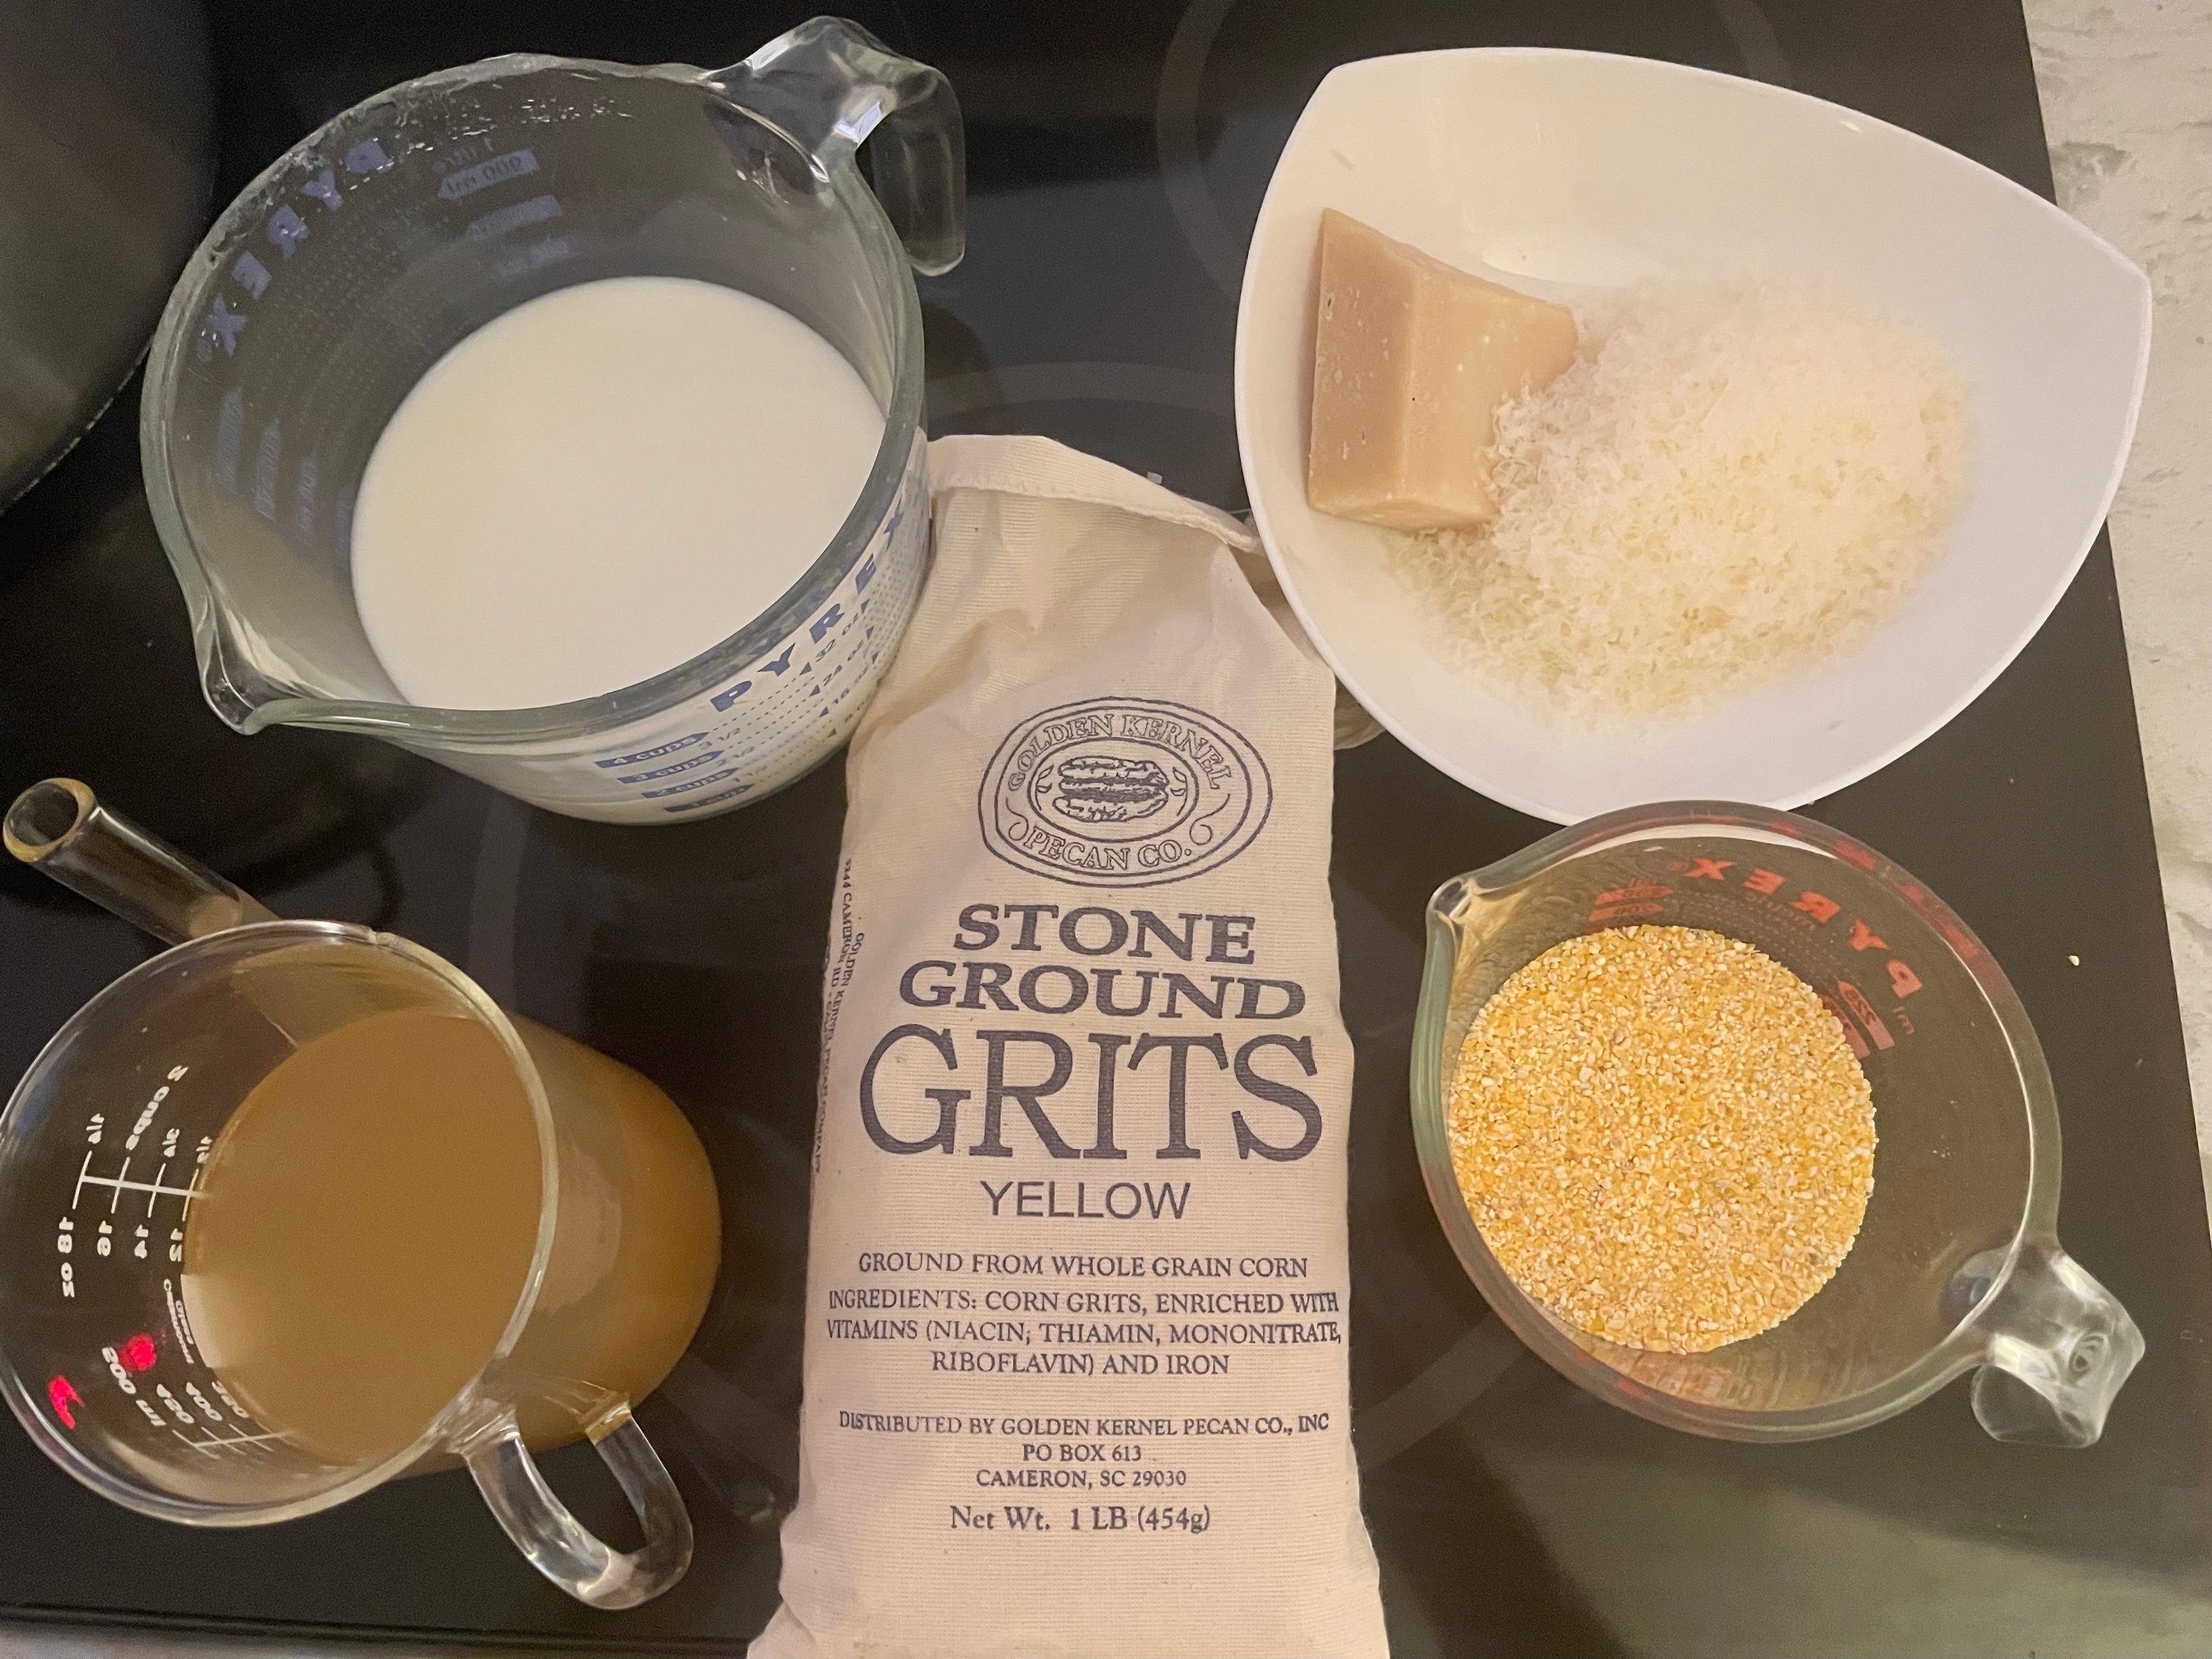
¾ cup yellow or white cornmeal (see note 1)
1 ½ cup chicken or vegetable stock (see note 2)
1 ½ cup whole milk
1 teaspoon salt
1 cup grated hard cheese, such as cheddar or parmesan (see note 3)
2 tablespoons unsalted butter (optional) (see note 4)
Instructions:
Heat the stock and milk together in a sauce pan until they boil
Add the ground corn, turn the heat to medium, and stir (see note 5)
Continue stirring occasionally for about 20 minutes (see note 6)
Add cheese, salt, and optional butter, and stir them into the grits
When liquid is fully absorbed and the corn is soft rather than firm, it is ready to serve (see note 7)
Notes:
Once you open a bag of cornmeal, I’d recommend keeping whatever is left in the refrigerator to prevent it from getting moldy.
Normally, I’d use chicken stock, but I had vegetable stock from the recent batch I made for my Substack recipe. See the recipe here:
I’ve used all kinds of cheese for this—the photo here shows me using parmesan. As long as you can grate it, you can use it.
The butter isn’t really necessary, and you can easily leave it out, but when I tasted the batch I made when preparing this Substack, I really wanted to add butter, so I did. In the past, I’ve added cream instead of butter. What can I say, I really like dairy fat.
You may have to play with the right amount of heat at first, because the liquid will want to foam up over the edge of the pan if it is too hot.
You can walk away from the stove for a few minutes, but I’d check periodically to make sure the grits aren’t sticking to the bottom of the pan.
As for anything you make, taste before serving! (A lesson I often forget myself.) With grits, they may look like they’re done before they actually are, and the only way to know is by taking a bite. If they are still crunchy or firm, let them cook another 5 or 10 minutes. Also, this is a dish best served immediately to be sure the grits retain their smooth texture. The longer the grits sit after cooking, the denser they will become.


Cat update:
Seraphina, like all cats, spends a lot of time napping. It is always fascinating to me to watch her stretch after a nap. In yoga terms, you can see her doing up-dog, down-dog (why not up-cat, down-cat?), and of course, cat pose.