


Vegetable Stock
Every kitchen needs stock in the fridge or freezer, ready to make soup, stew, or a variety of other simple recipes.

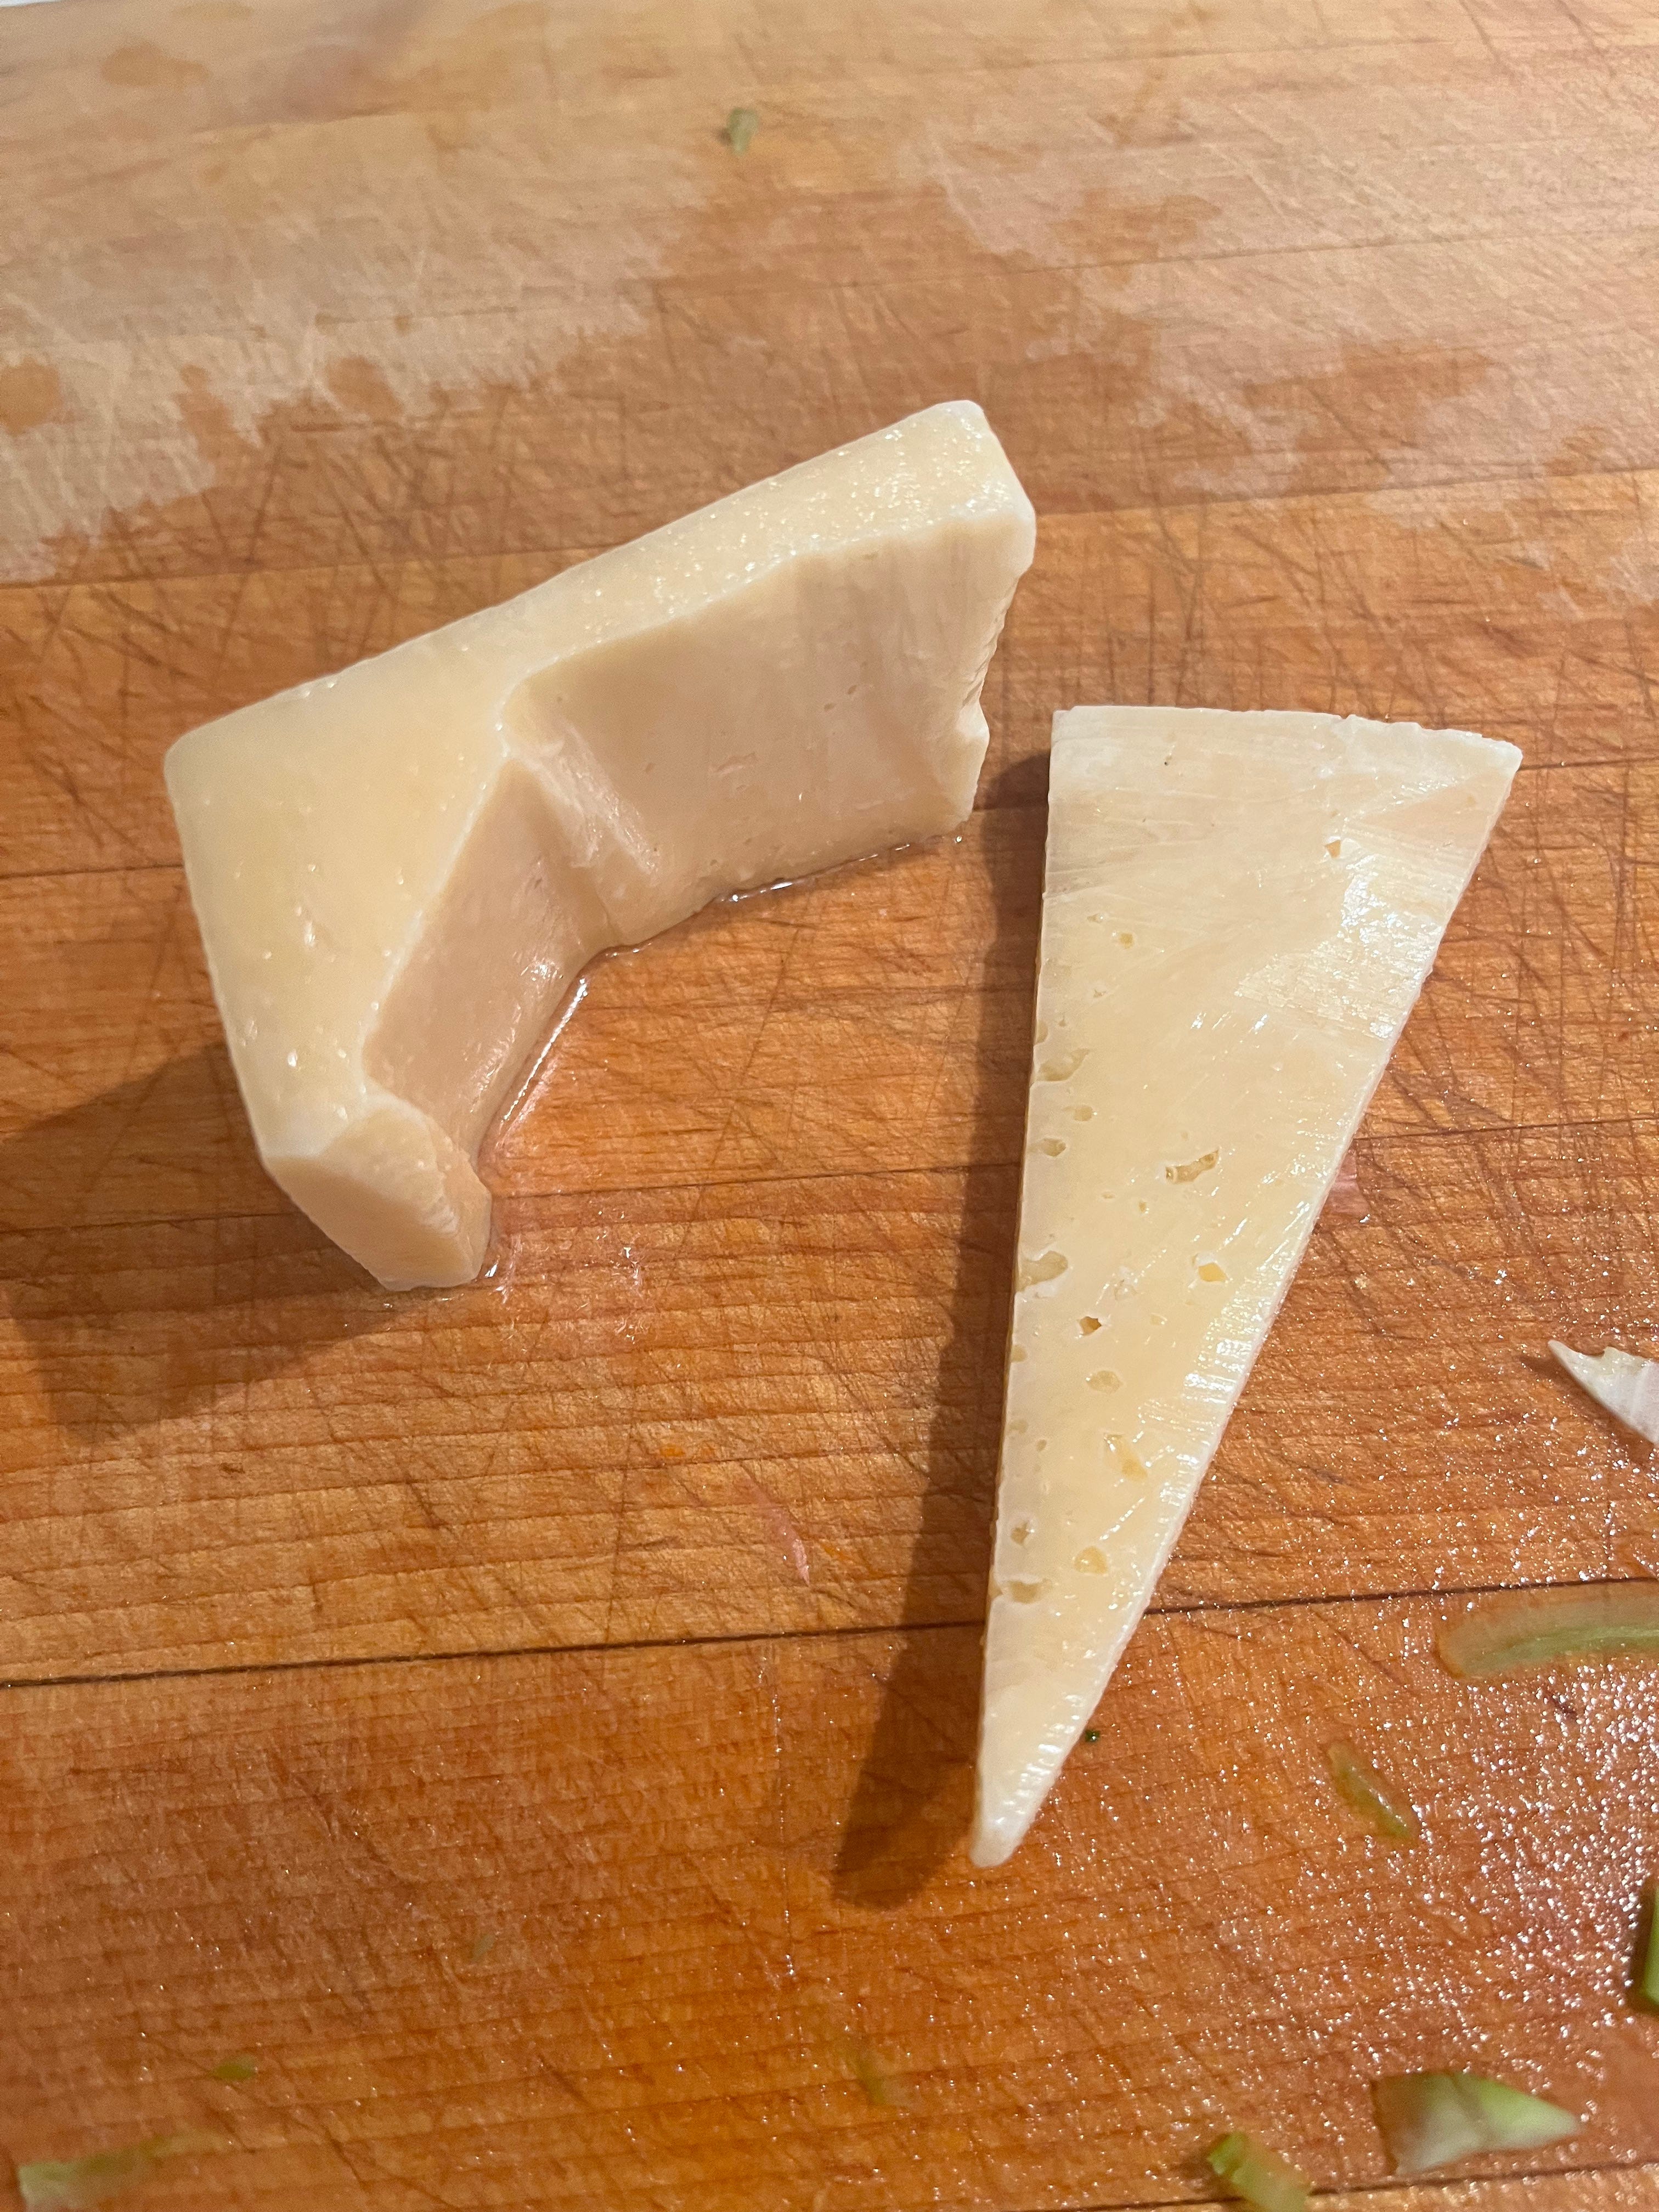
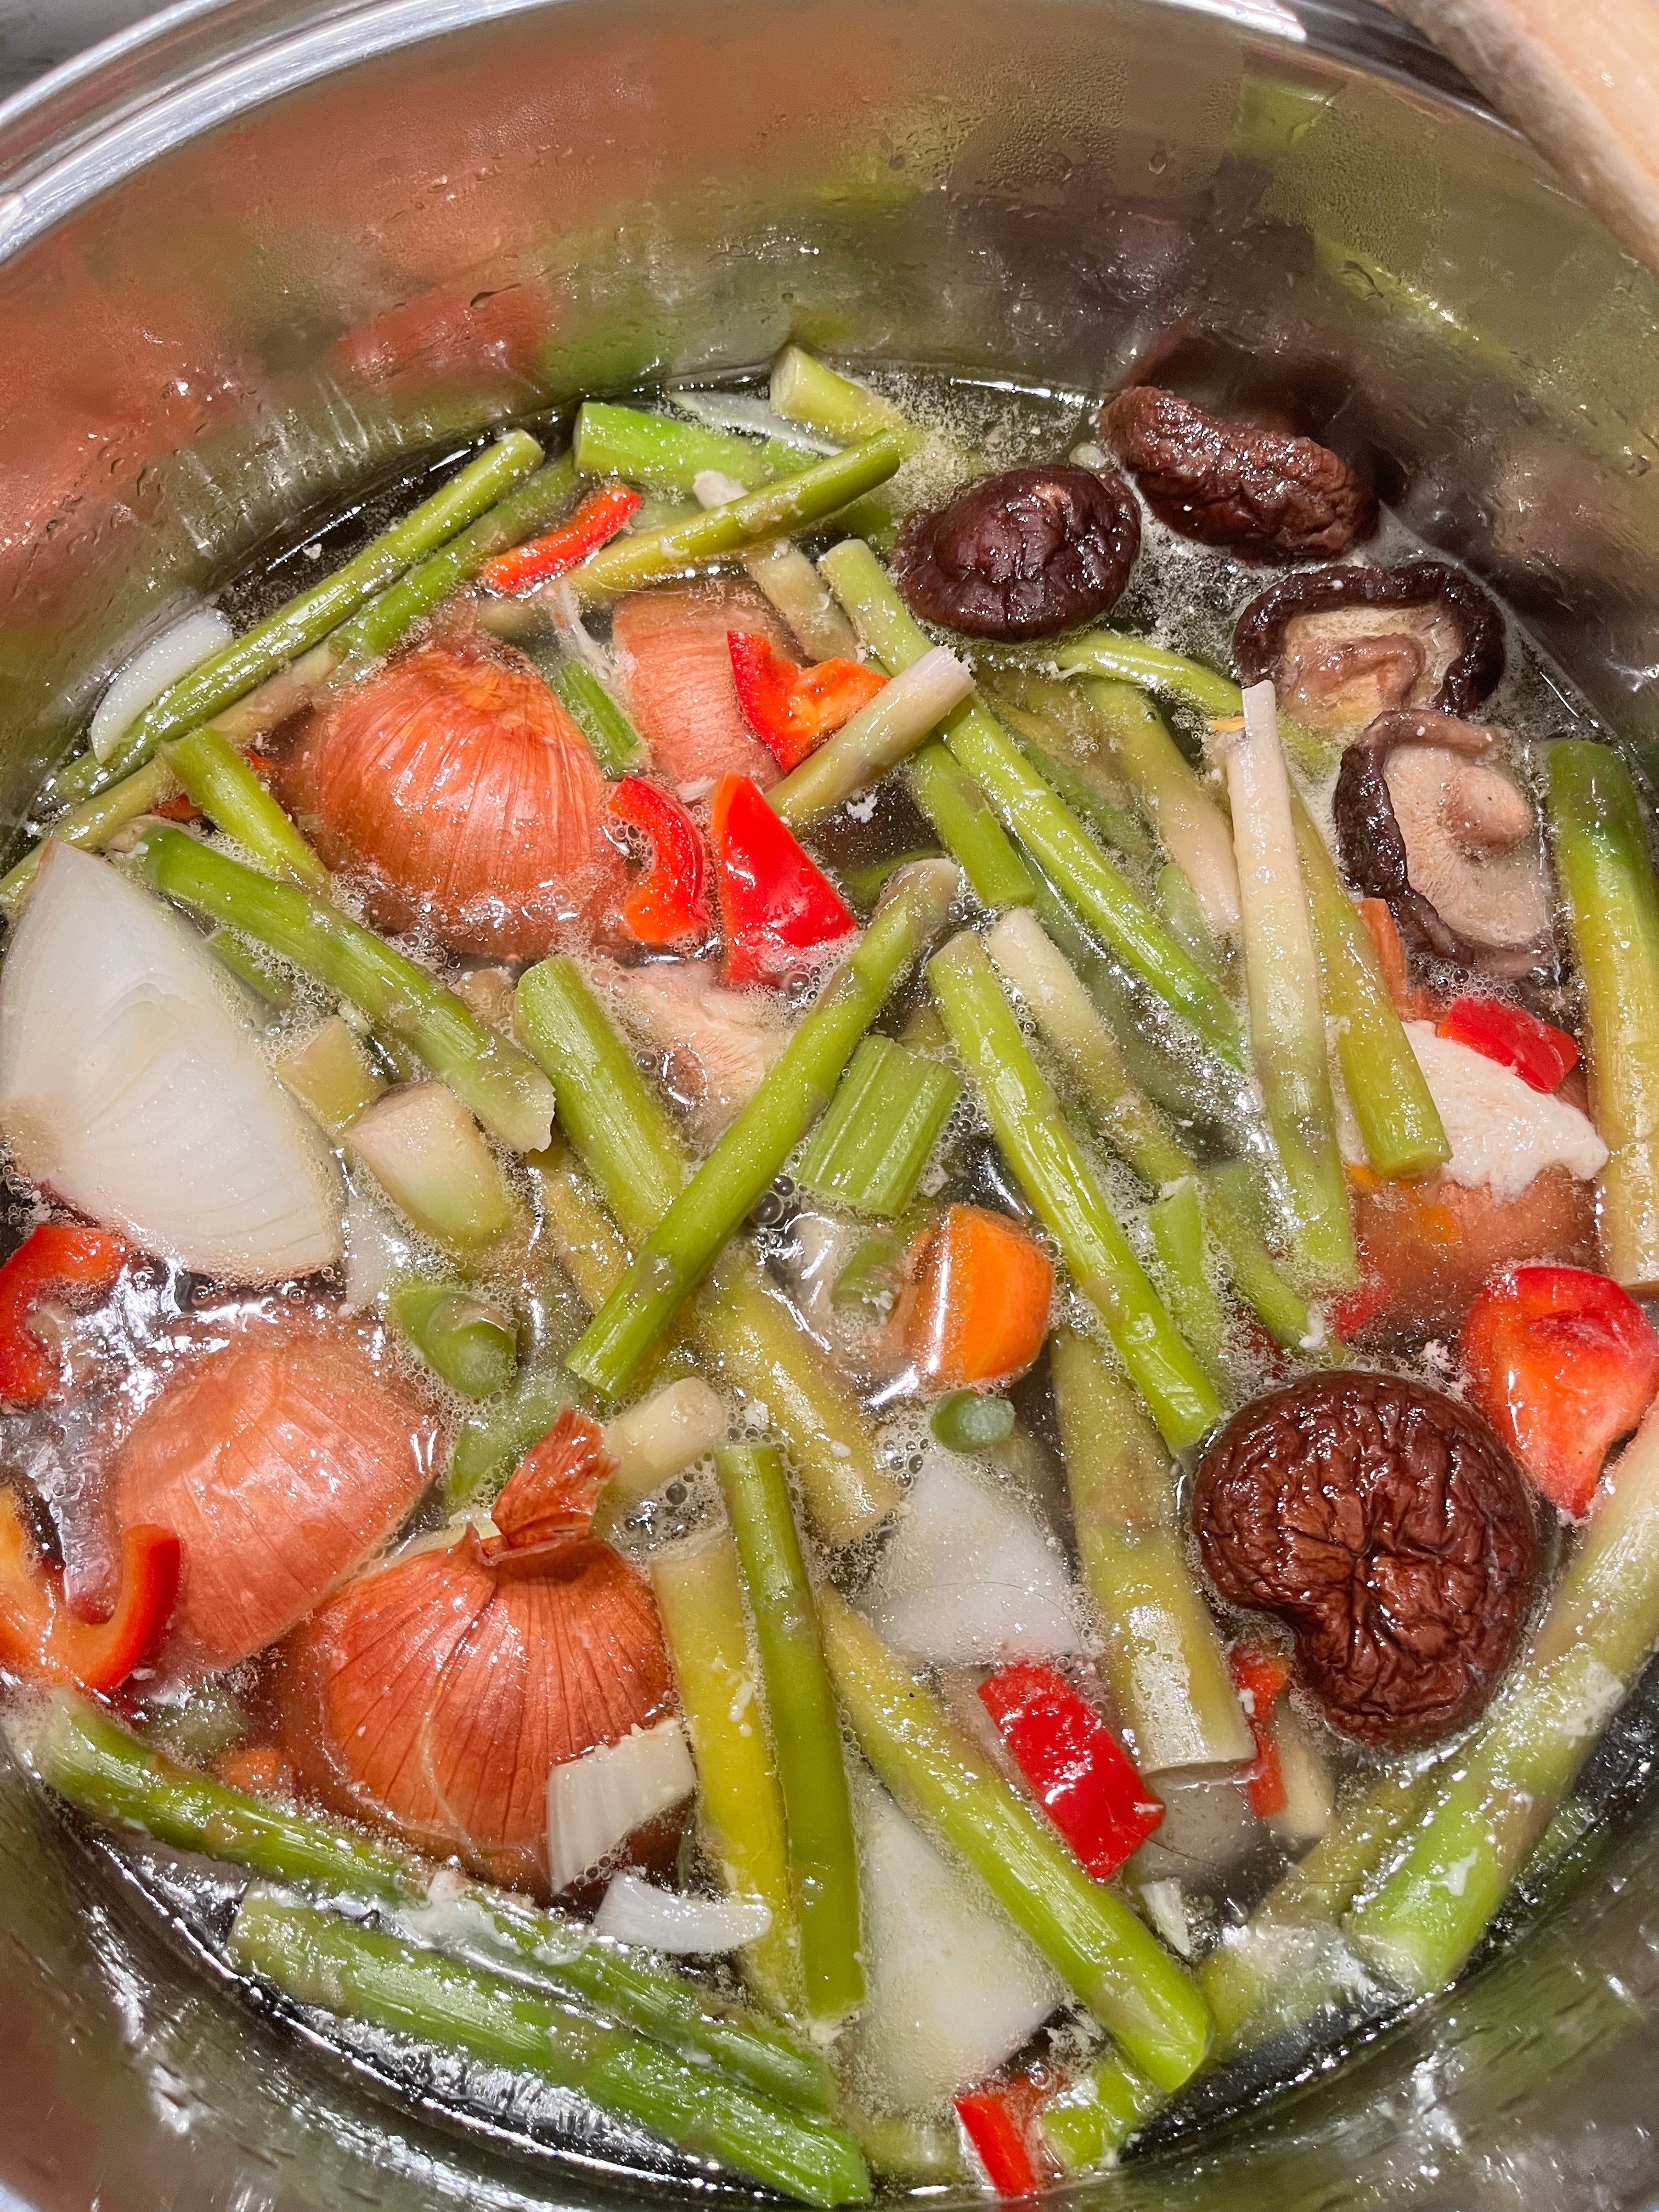
Stock is something you should always have on hand, in the fridge or freezer. Sure, most supermarkets now carry stock in a can or box, but can you be sure they are gluten free? Not to mention they can be heavy on salt and other additives, which you won’t use when making your own. You can use many types of vegetables in your stock, but, at a minimum, I would include onions, carrots, and celery. One good addition is mushrooms, which add umami (mouth feel) to stock. Another secret ingredient I use is cheese rinds (see photo below)—the hard, inedible edge of a chunk of parmesan cheese, for example (I keep rinds in the freezer until I need them). And when you trim asparagus to get rid of the stringy, woody ends, put them in a plastic bag in the freezer to add to your next batch of stock (good for umami as well). I avoid adding cruciferous vegetables (aka brassicas)—cabbage, broccoli, brussels sprouts, cauliflower, kale, turnip roots, radishes, etc.—because they have a very strong, distinctive odor and flavor that you may not want to add to a lot of dishes through the stock. Don’t add salt or other seasonings to your stock; you can add those things when you use the stock for a particular dish you’re making.
Use your stock as the base for soups, in stews and sauces, and for cooking rice, polenta, or other grains. Besides vegetable stock, I also make stocks from beef, pork, chicken, and fish/seafood.
Ingredients:
3 quarts water (see note 1)
6 carrots, chopped coarsely
2 onions, quartered
6 stalks celery
Other recommended additions:
Mushrooms, either fresh or dried (good for umami)
Red bell pepper
Cheese rinds (good for umami) (see photo)
Asparagus—the hard woody ends trimmed from the more edible parts (good for umami)
Okra (good for umami)
Instructions:
Add chopped vegetables to a large pot with the water
Place pot on a burner and turn to high until the water starts to boil
Turn down heat to medium-low so that the pot is at a steady simmer (small bubbles coming to top), not at a rolling boil
Simmer for at least 3 hours (see note 2)
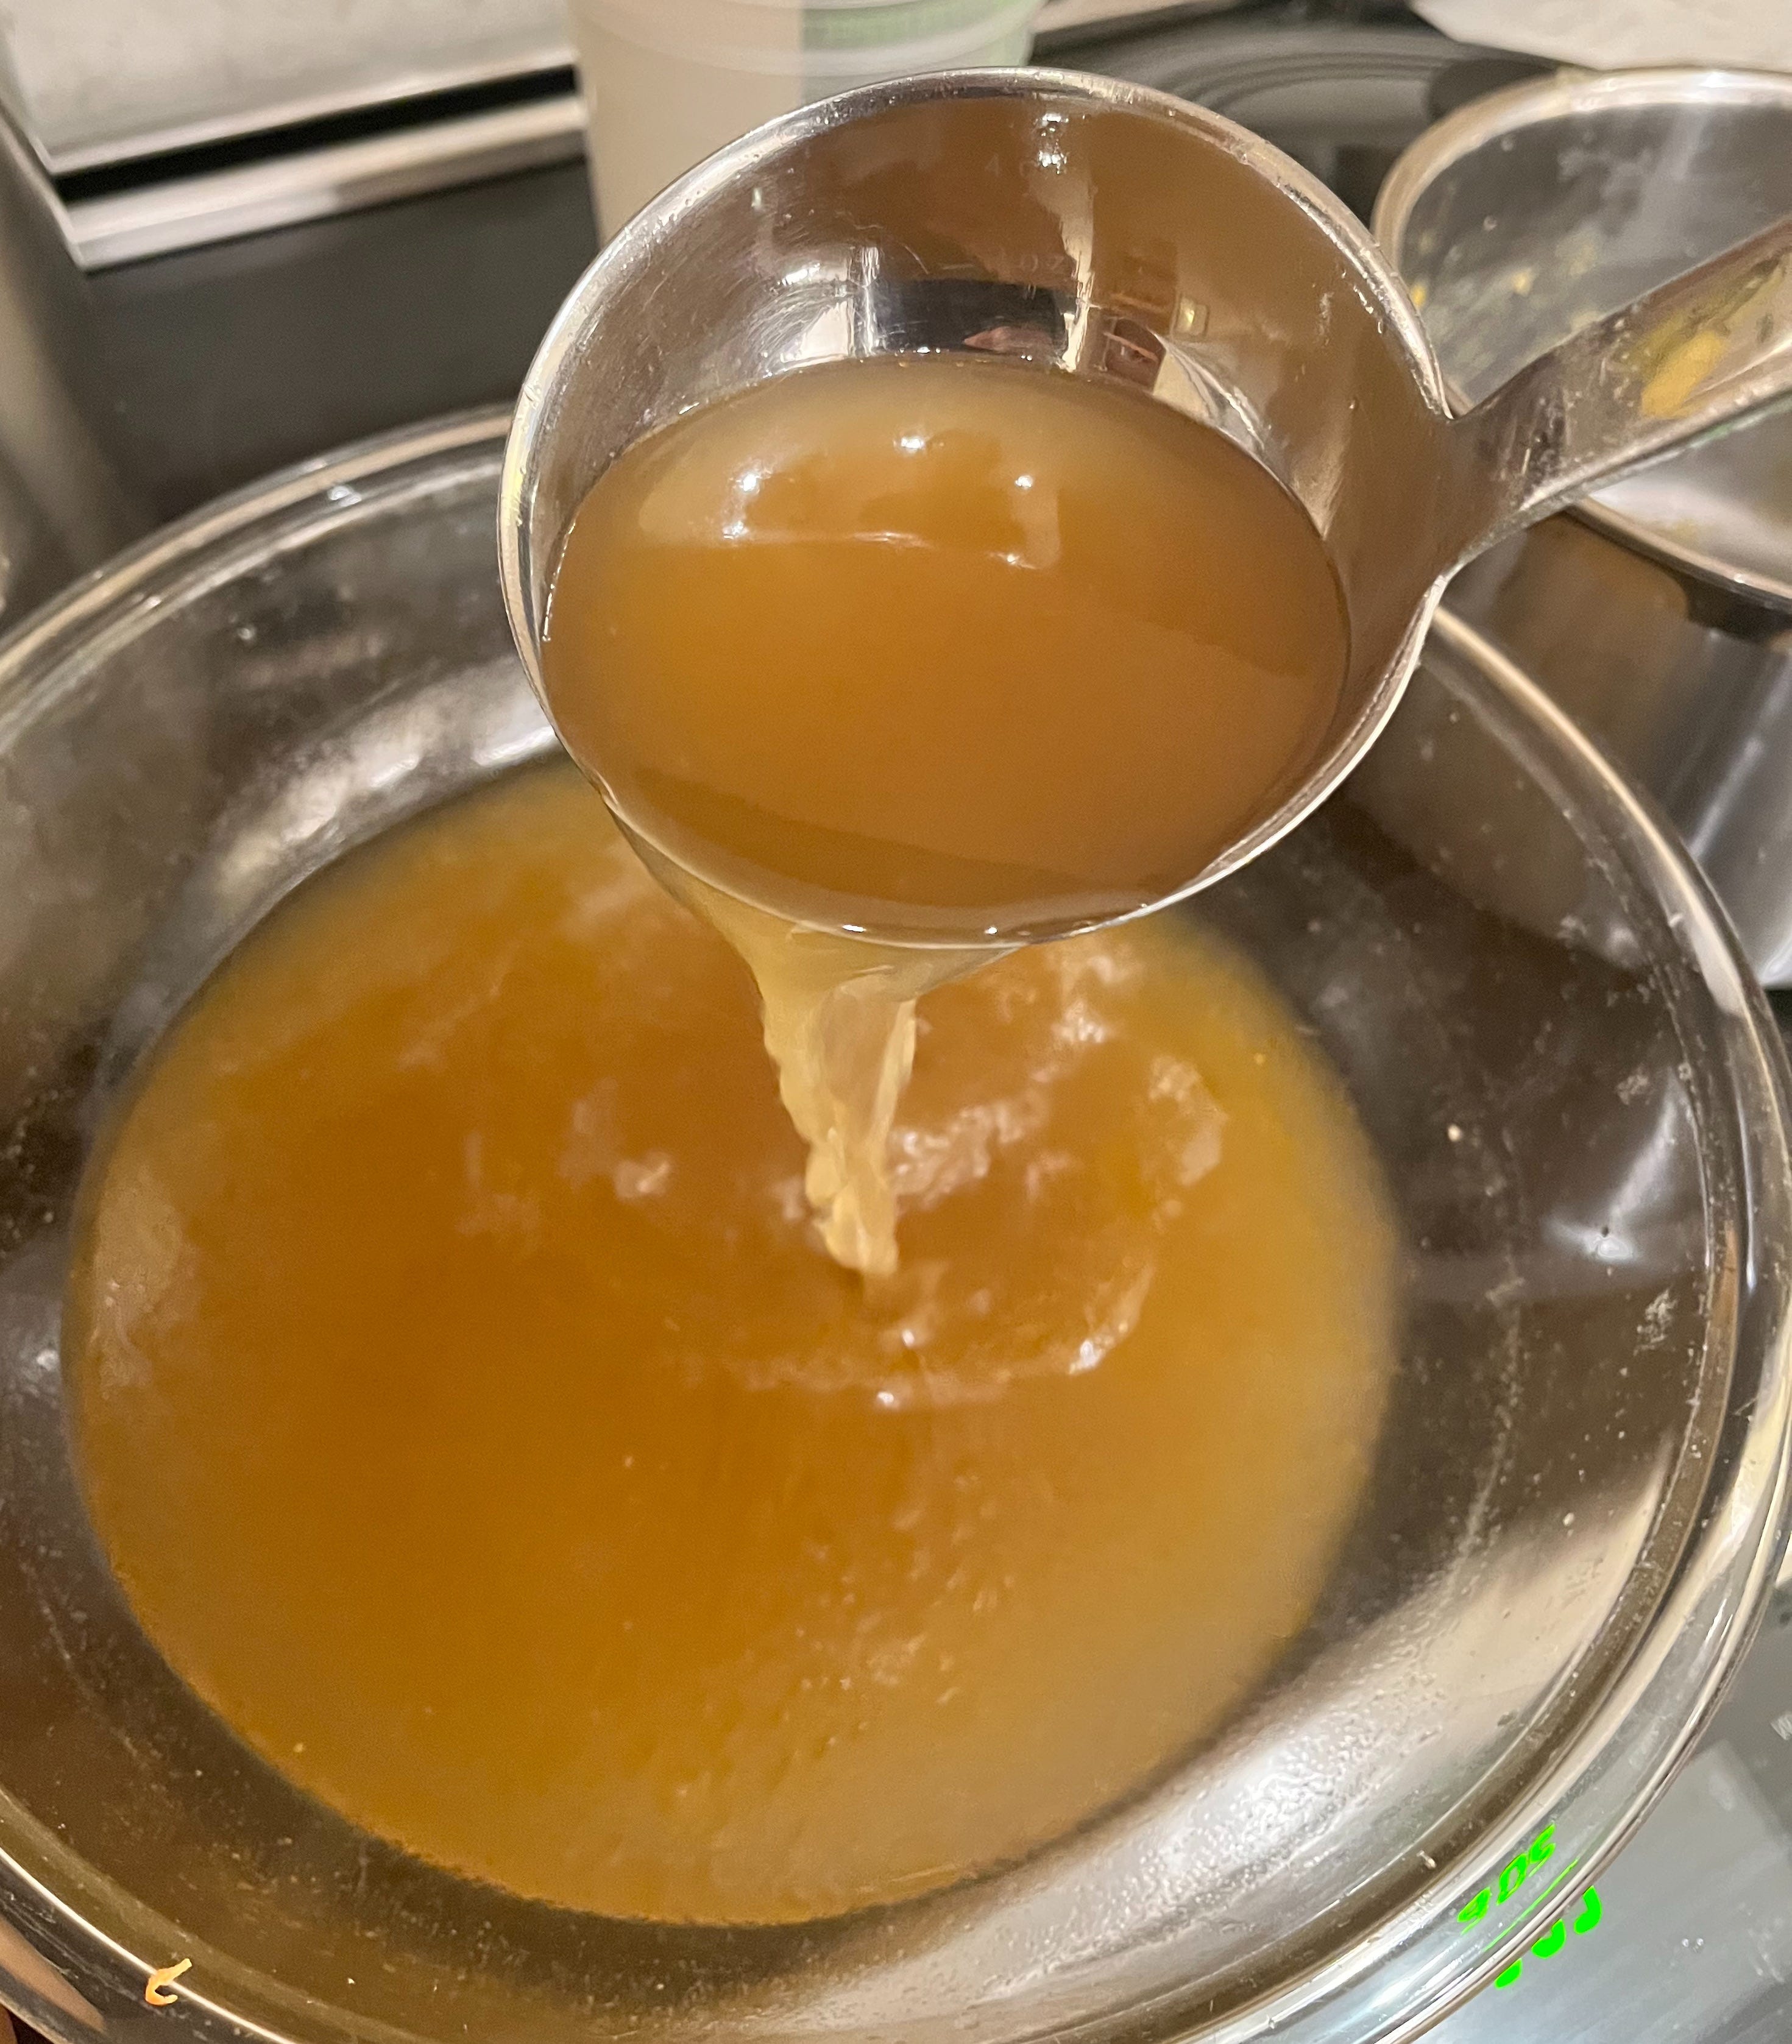
Set a fine-mesh strainer into a large mixing bowl and pour the contents of the pot into it
Remove the strainer and its contents and ladle the liquid into sealable plastic or glass containers (see note 3)
Notes:
This would be the minimum of water I’d use. You can use any larger volume of water you want to accommodate more vegetables. Also, I always add water as the stock simmers to counteract evaporation.
I usually go longer than 3 hours to make sure all the flavor and nutrients are extracted into the stock. If you poke a piece of the carrot with a fork and you see that the carrot is mushy, you’re not going to get any more flavor out of it (go ahead and taste that carrot—it will taste like nothing!), and you can stop.
I use quart-sized plastic containers with lids—the kind that carryout food often comes in (I save those carryout containers for this purpose) or jars with airtight lids. Use plastic containers if you plan to store your stock in the freezer, because the liquid will expand as it freezes and could shatter glass. For the same reason, leave half an inch of space between the surface of the liquid and the lid so there is room for expansion. If you plan to use the stock in the refrigerator for use within a few days, glass jars work well.
Cat update:

Not all cats like this, but Seraphina loves to have her belly rubbed.