


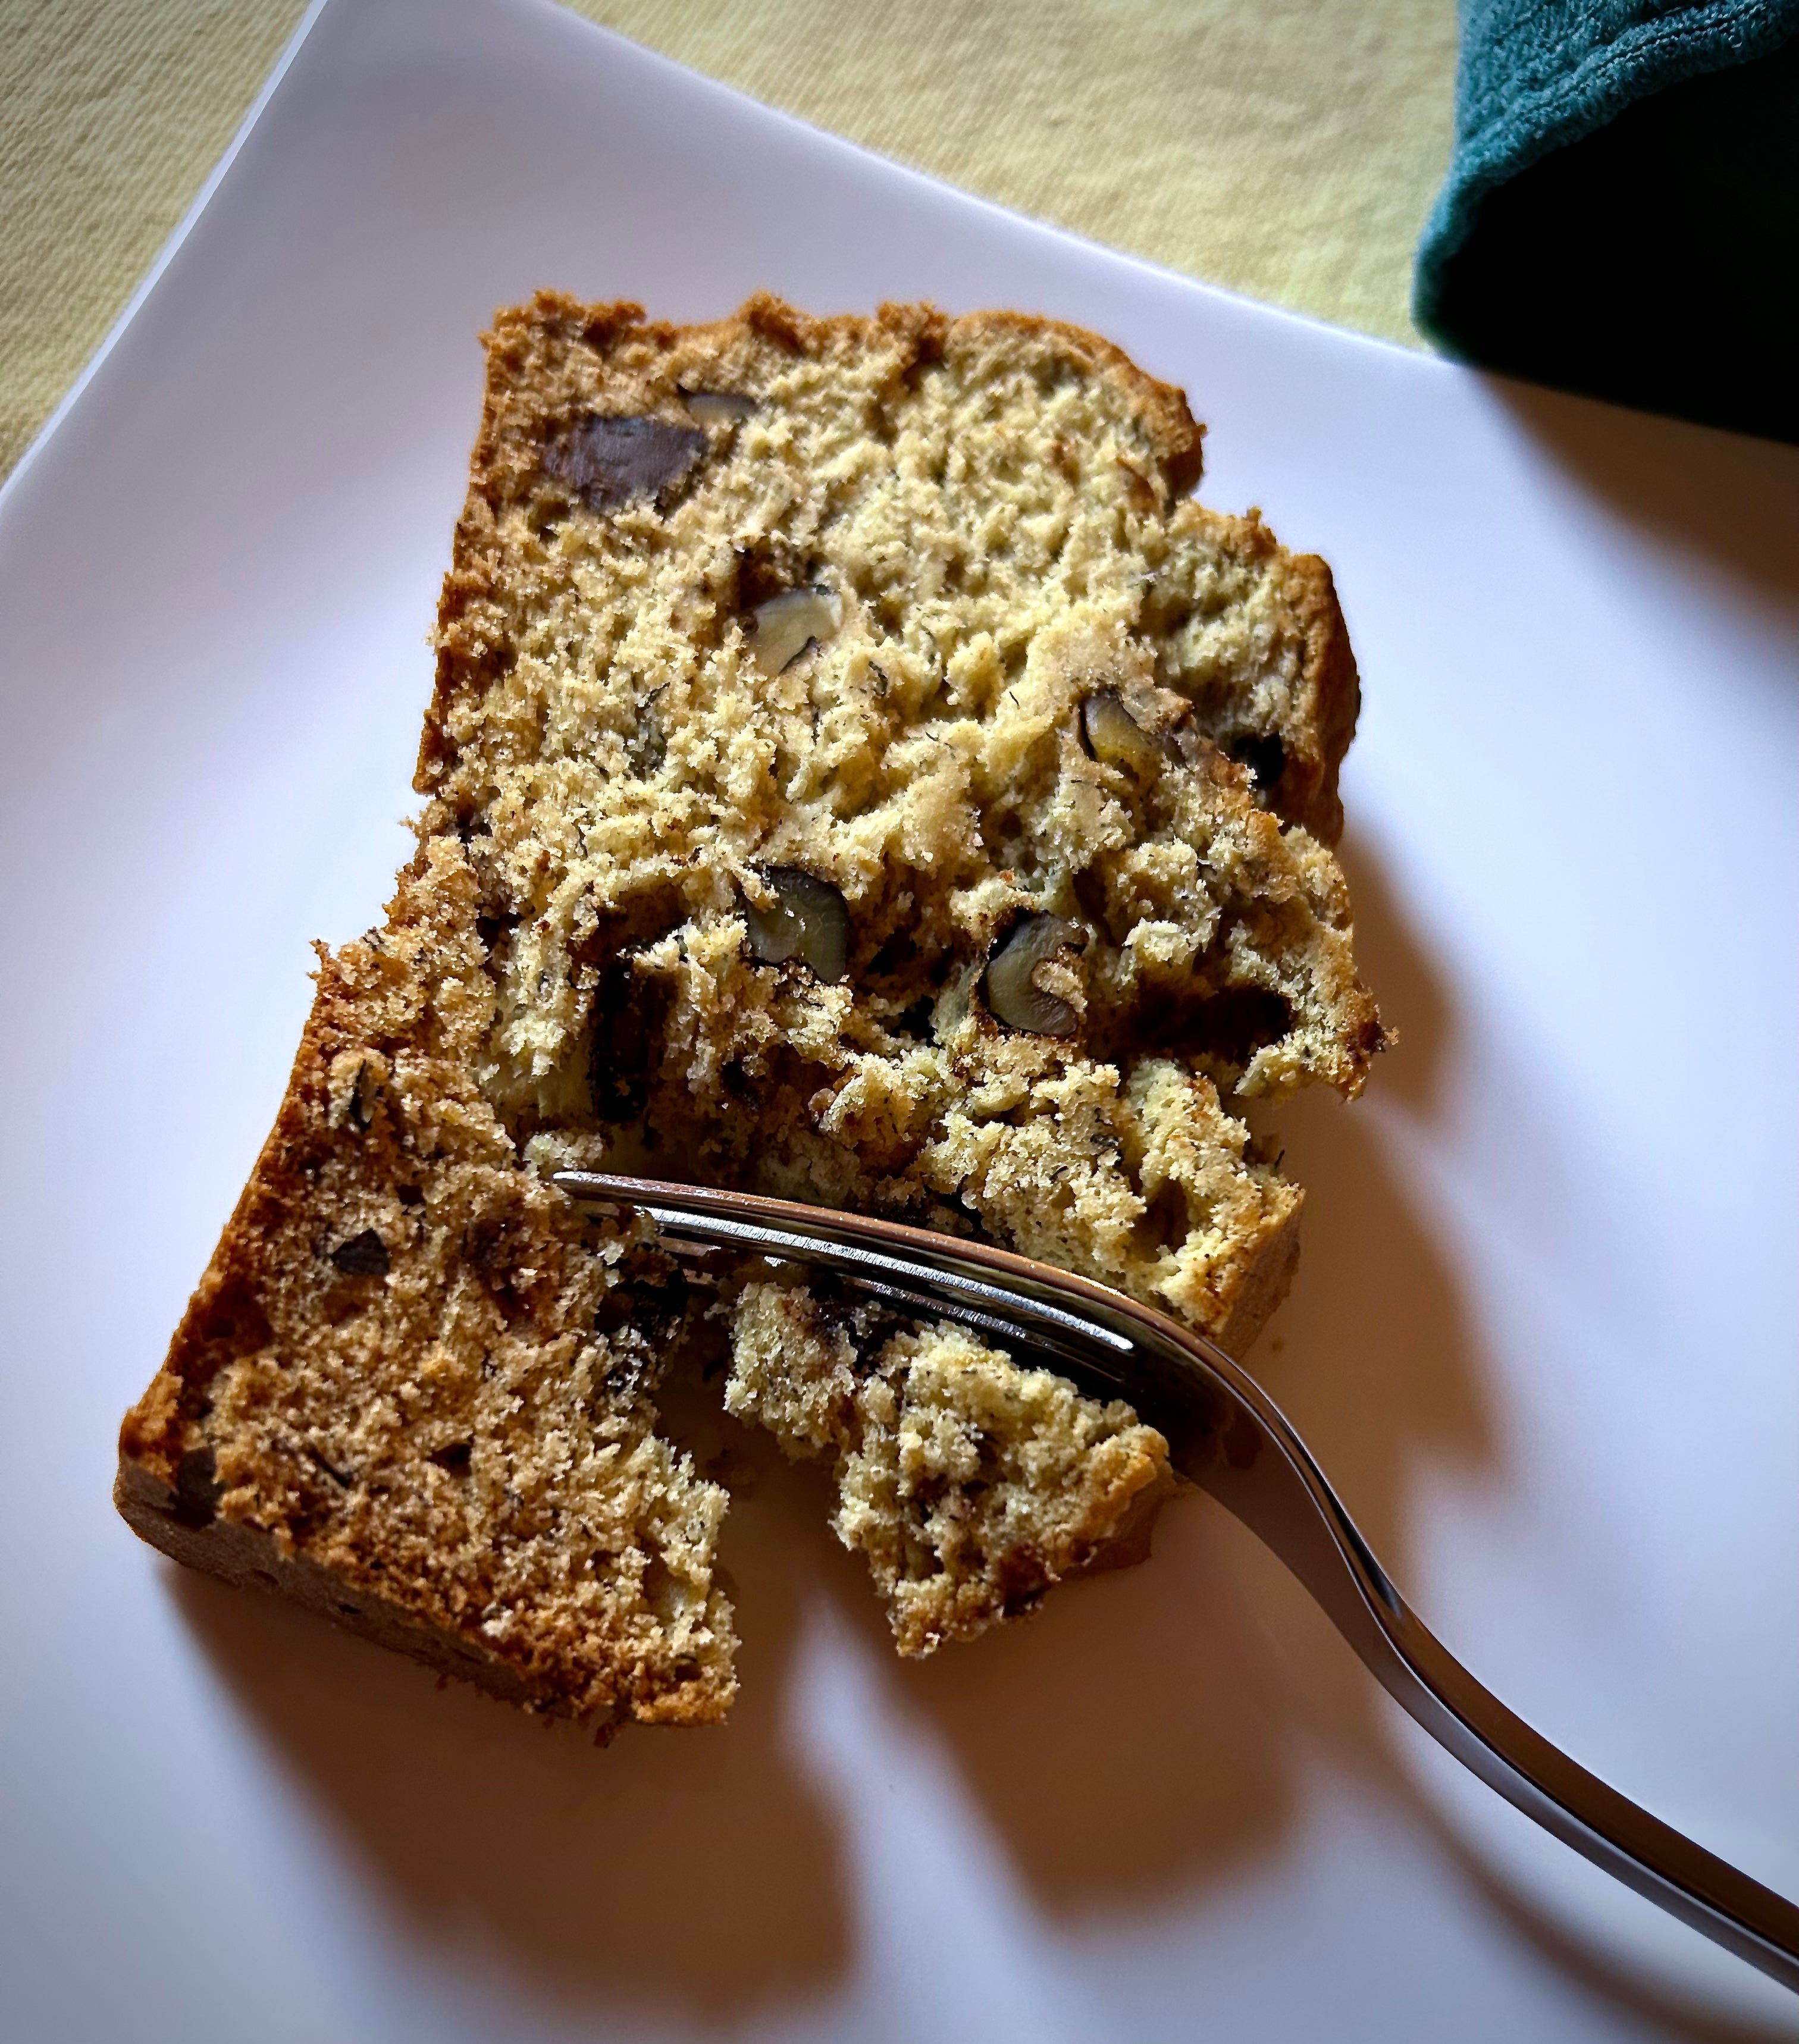
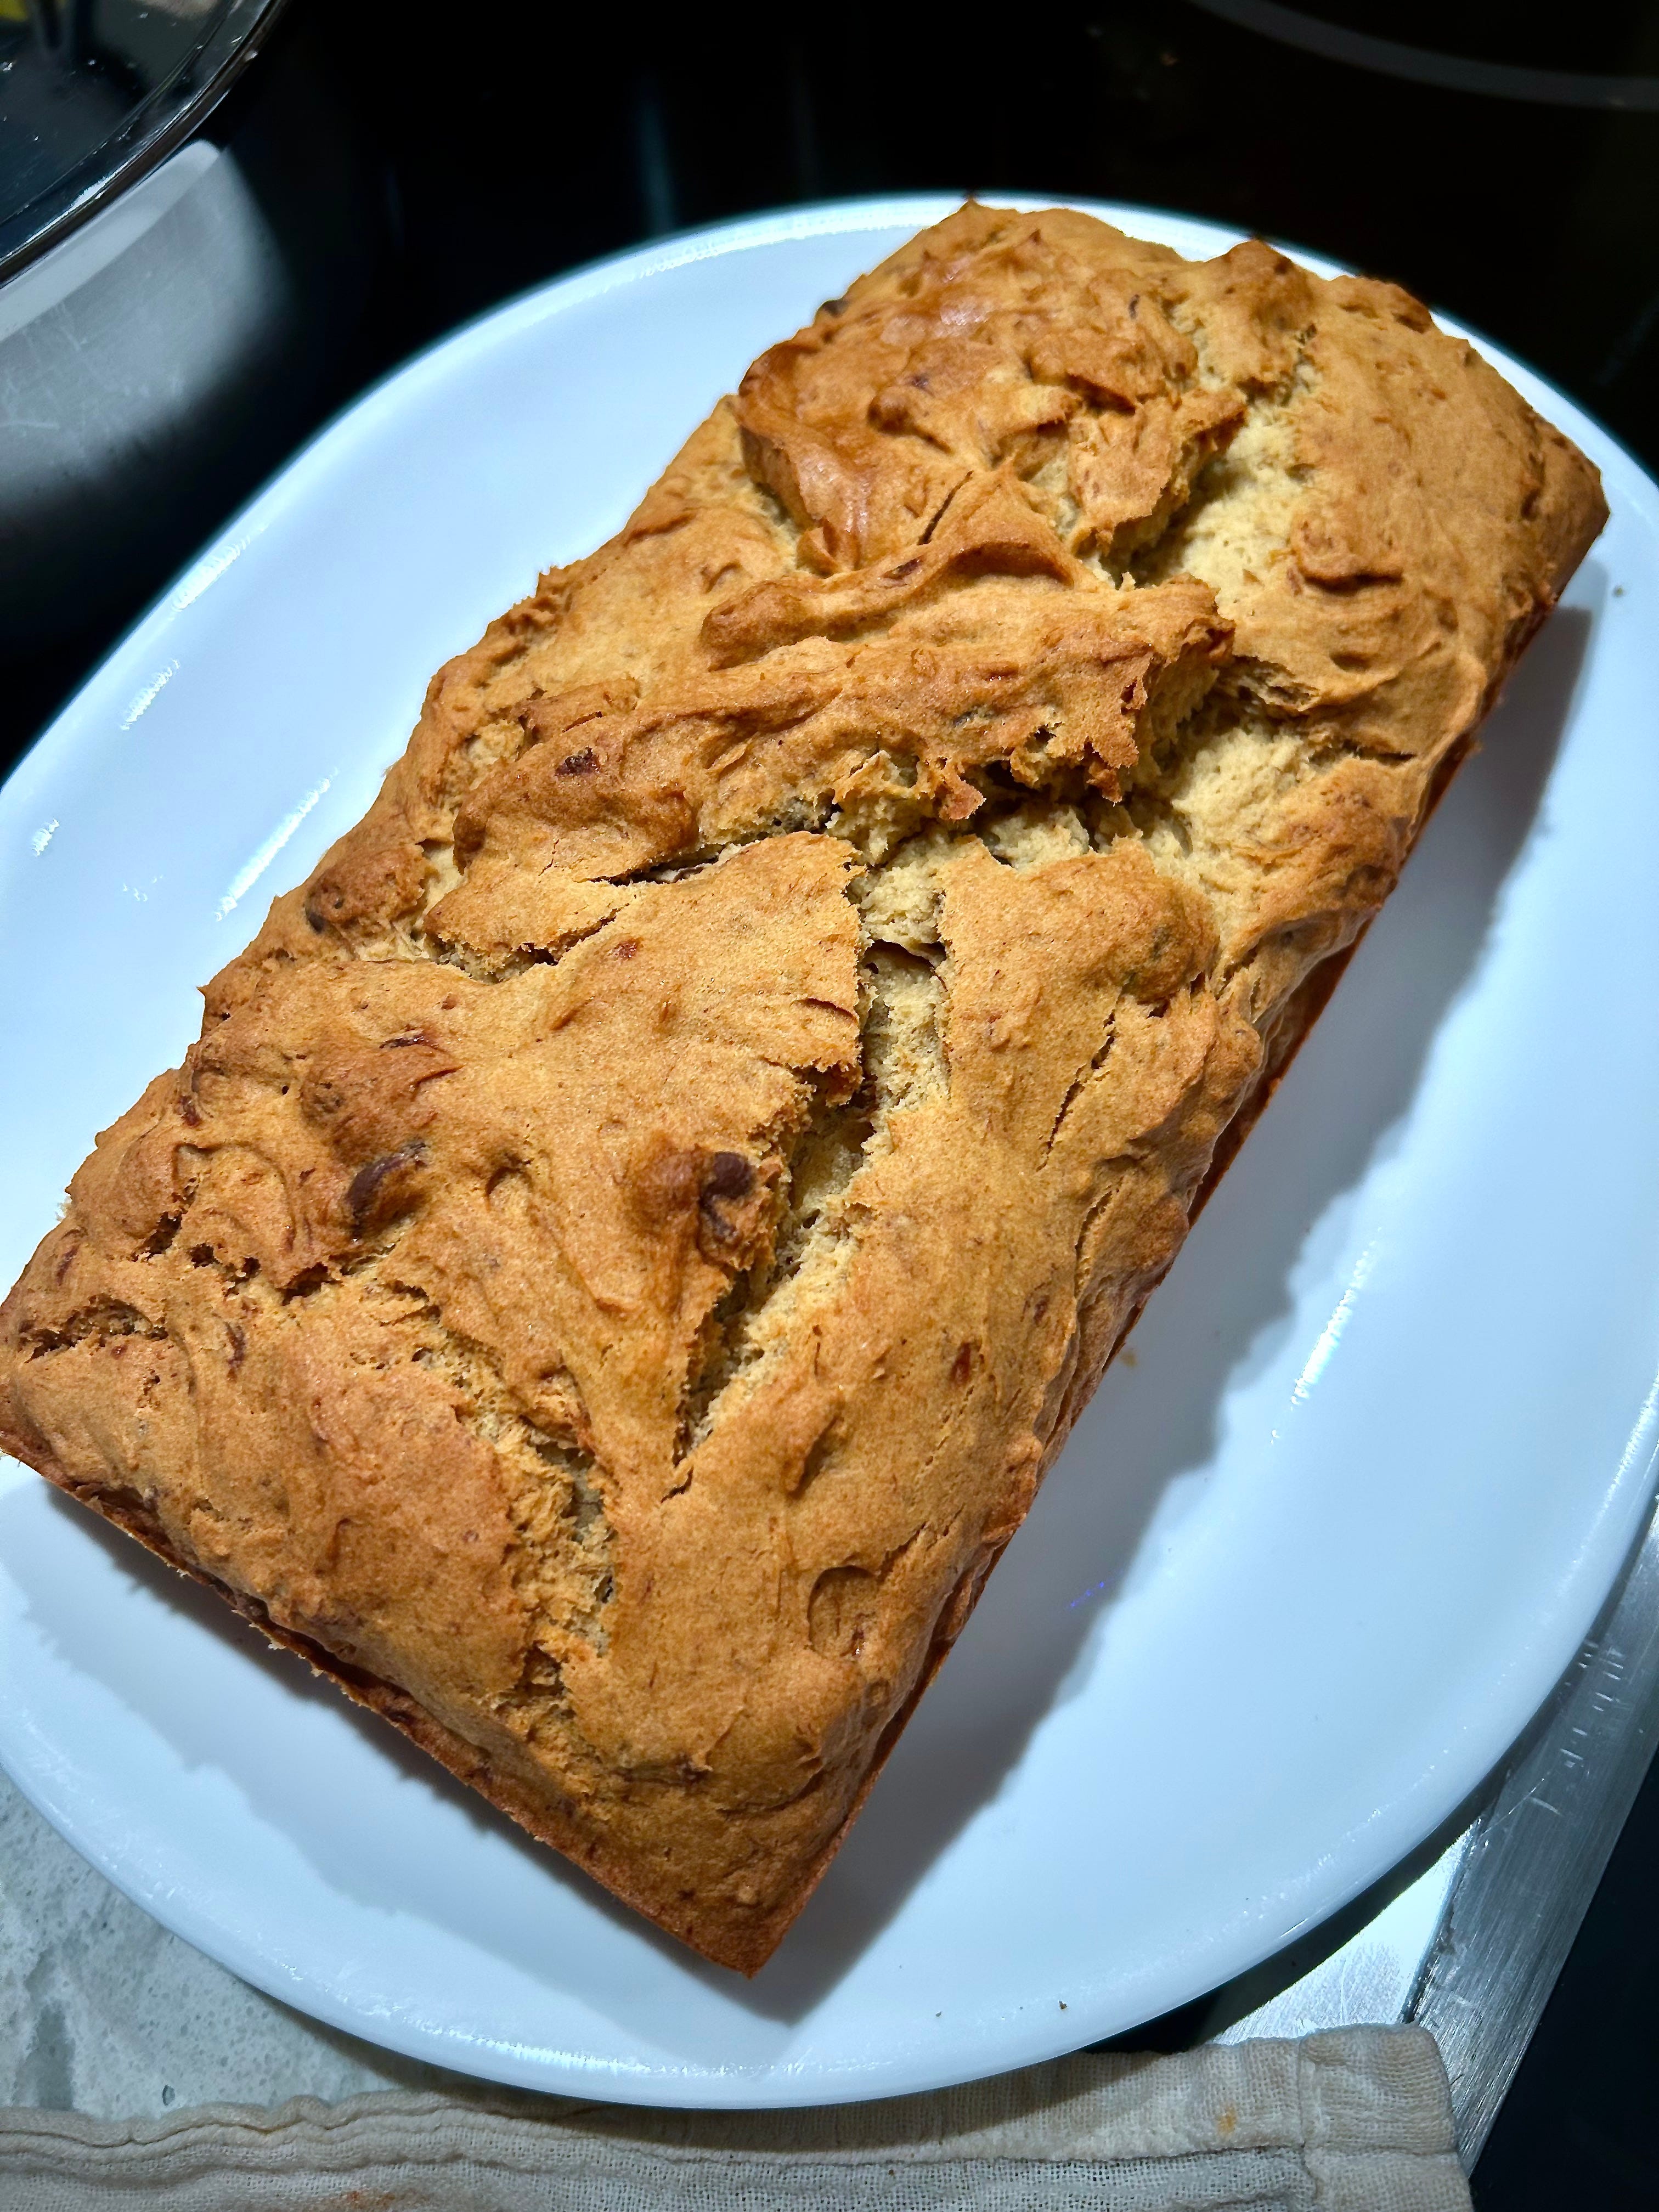
Banana Bread with Chocolate Chips & Nuts
A classic favorite made gluten free and pumped up with chocolate chips and nuts.

Every gluten-free cook is going to want to make banana bread at some point, and I’m no exception. After a bit of testing, I settled on a recipe that isn’t too sweet, but that complements the banana flavor with chocolate and nuts. You can leave either or both of those things out, or you can use a full cup of chocolate chips instead of adding the nuts.
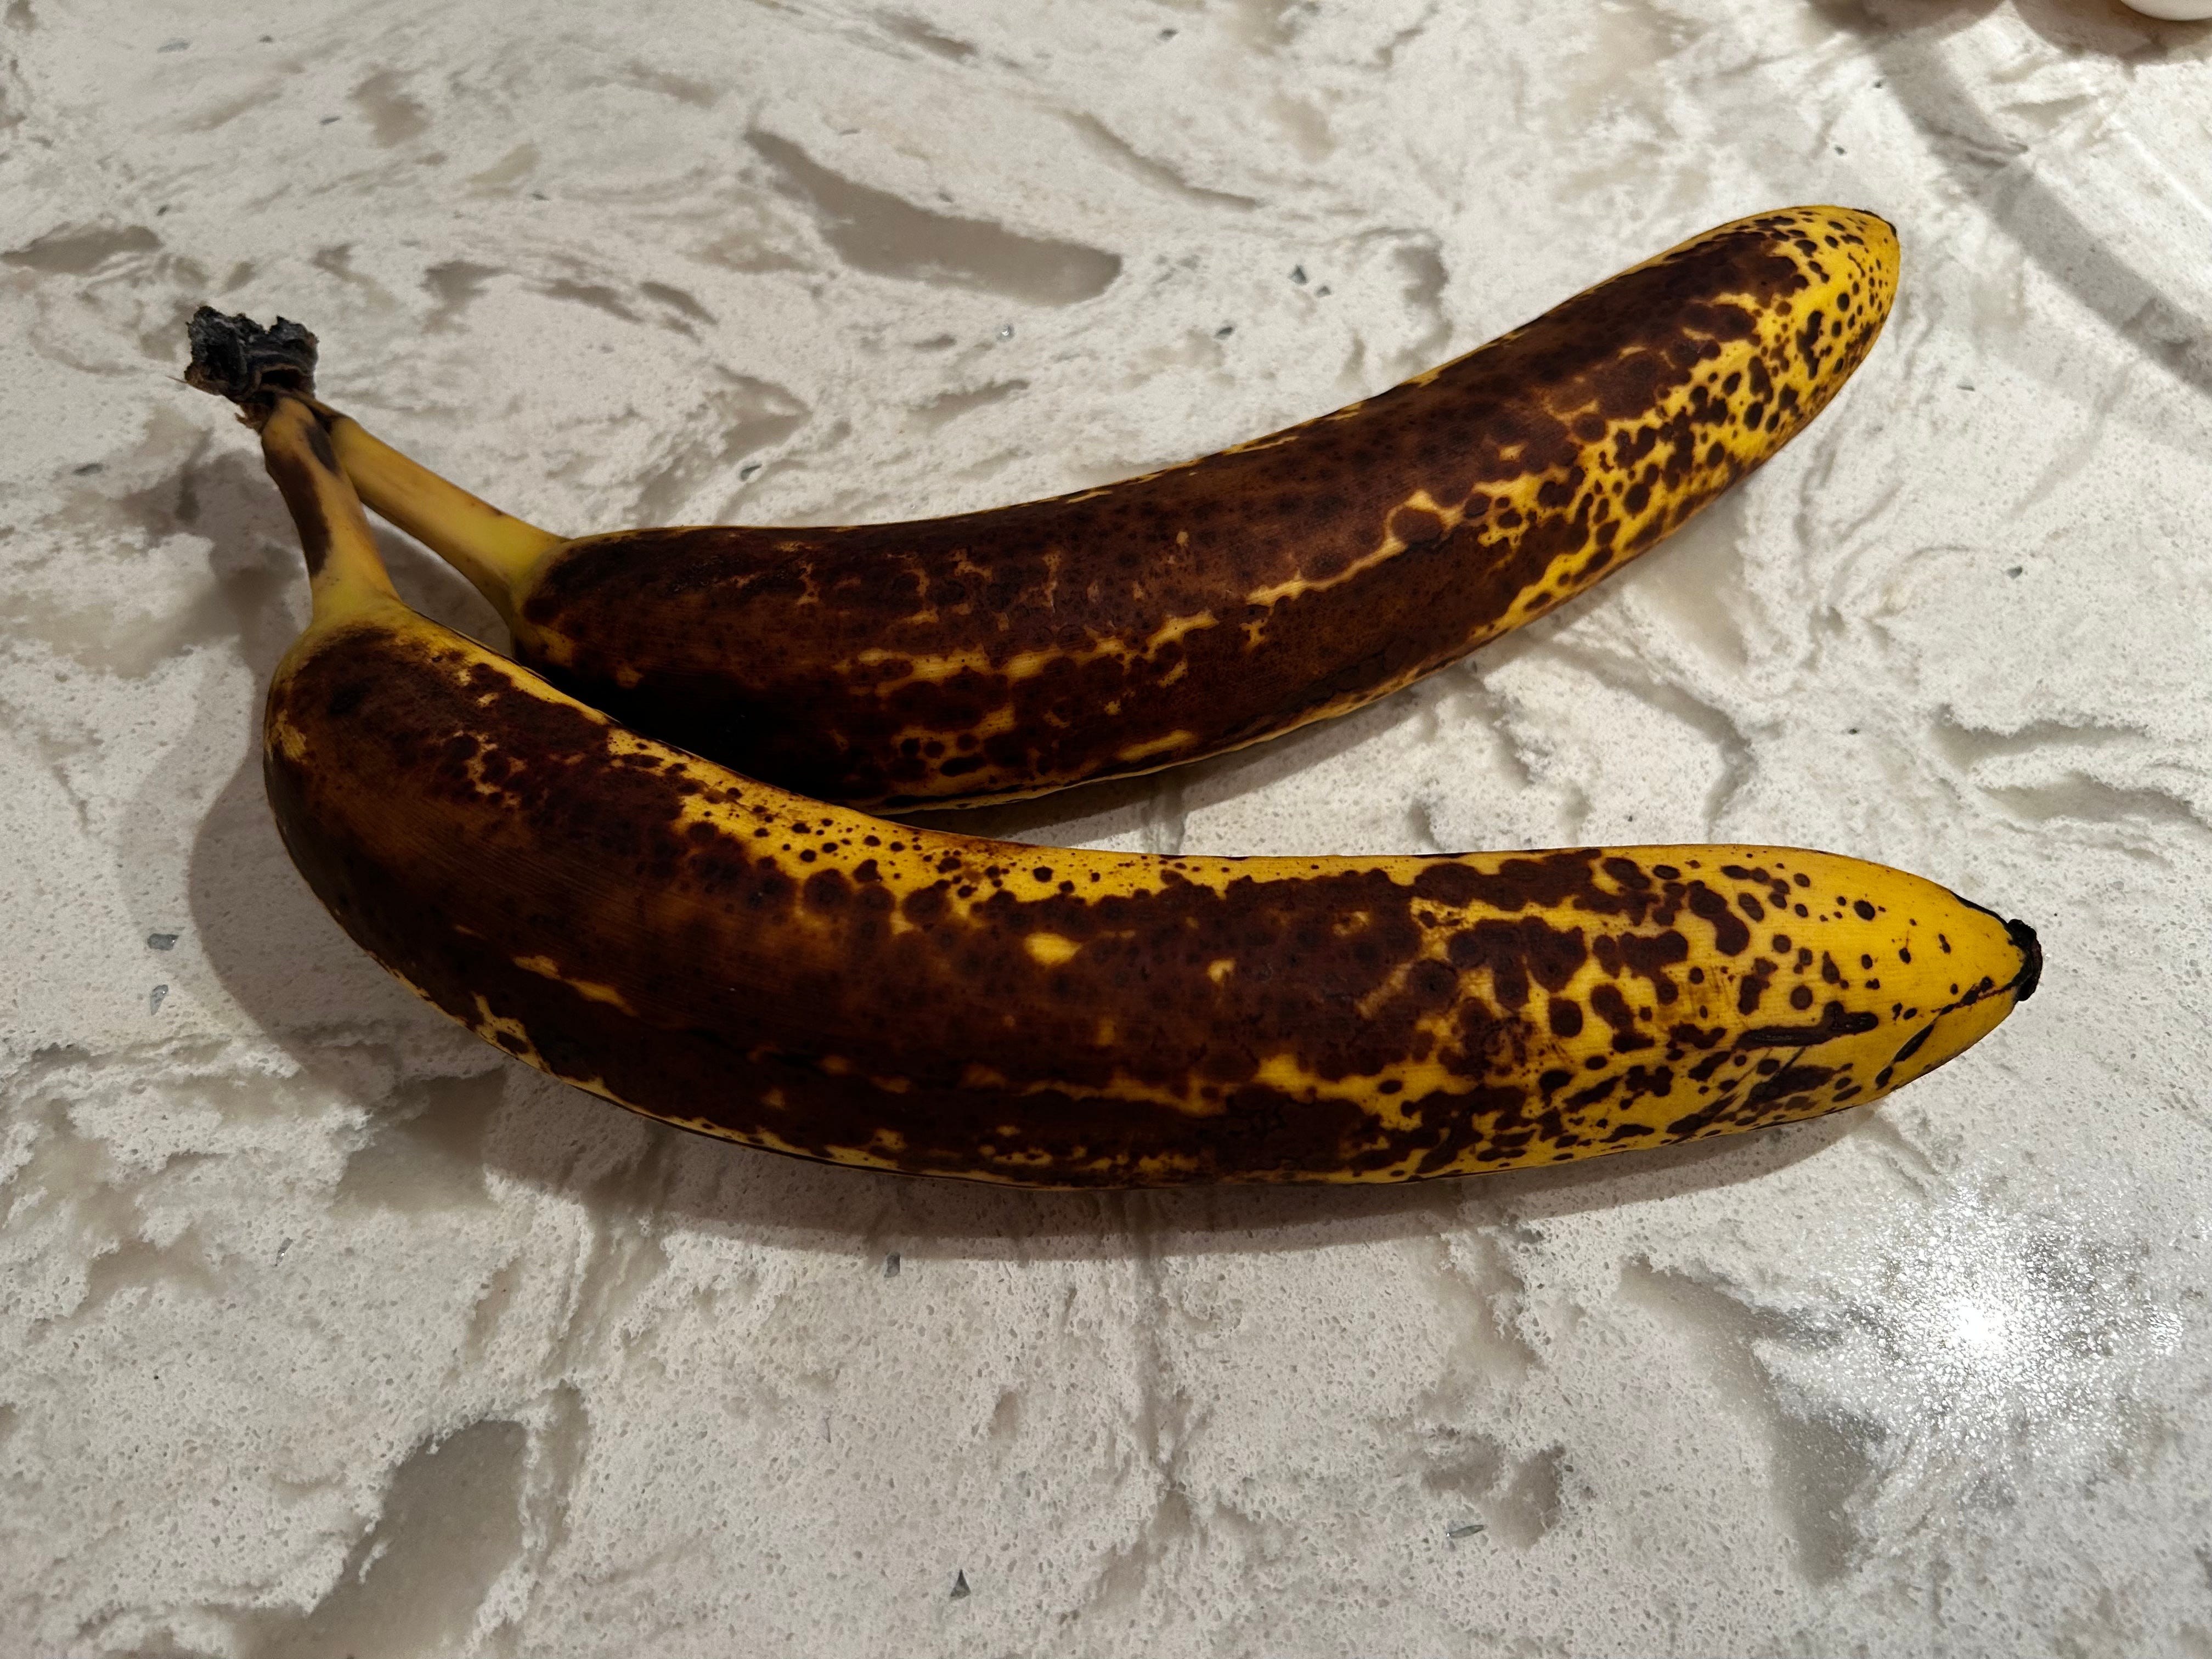
One thing I want to emphasize is that you need to use very ripe, even over-ripe. I mean a banana-skin-is-brown level of ripeness (see photo below). Very ripe bananas have fully developed sugars to naturally sweeten the bread and will quickly turn to a smooth paste when mashed.
Something I often forget to do when I bake anything that involves butter is to take a stick of butter out of the fridge at least an hour before starting. It’s really annoying to have all your ingredients ready to go and the oven warming up, only to find your butter is still hard as a rock. In this recipe, you’re going to cream the butter with the sugar using a fork, so it needs to be soft, and it will only get that way by being at room temperature for a while. I also like to use room-temperature eggs when baking, so set those on the countertop at the same time as the butter.
The other thing to remember is to mix your banana mixture separately from your flour mixture before combining them.
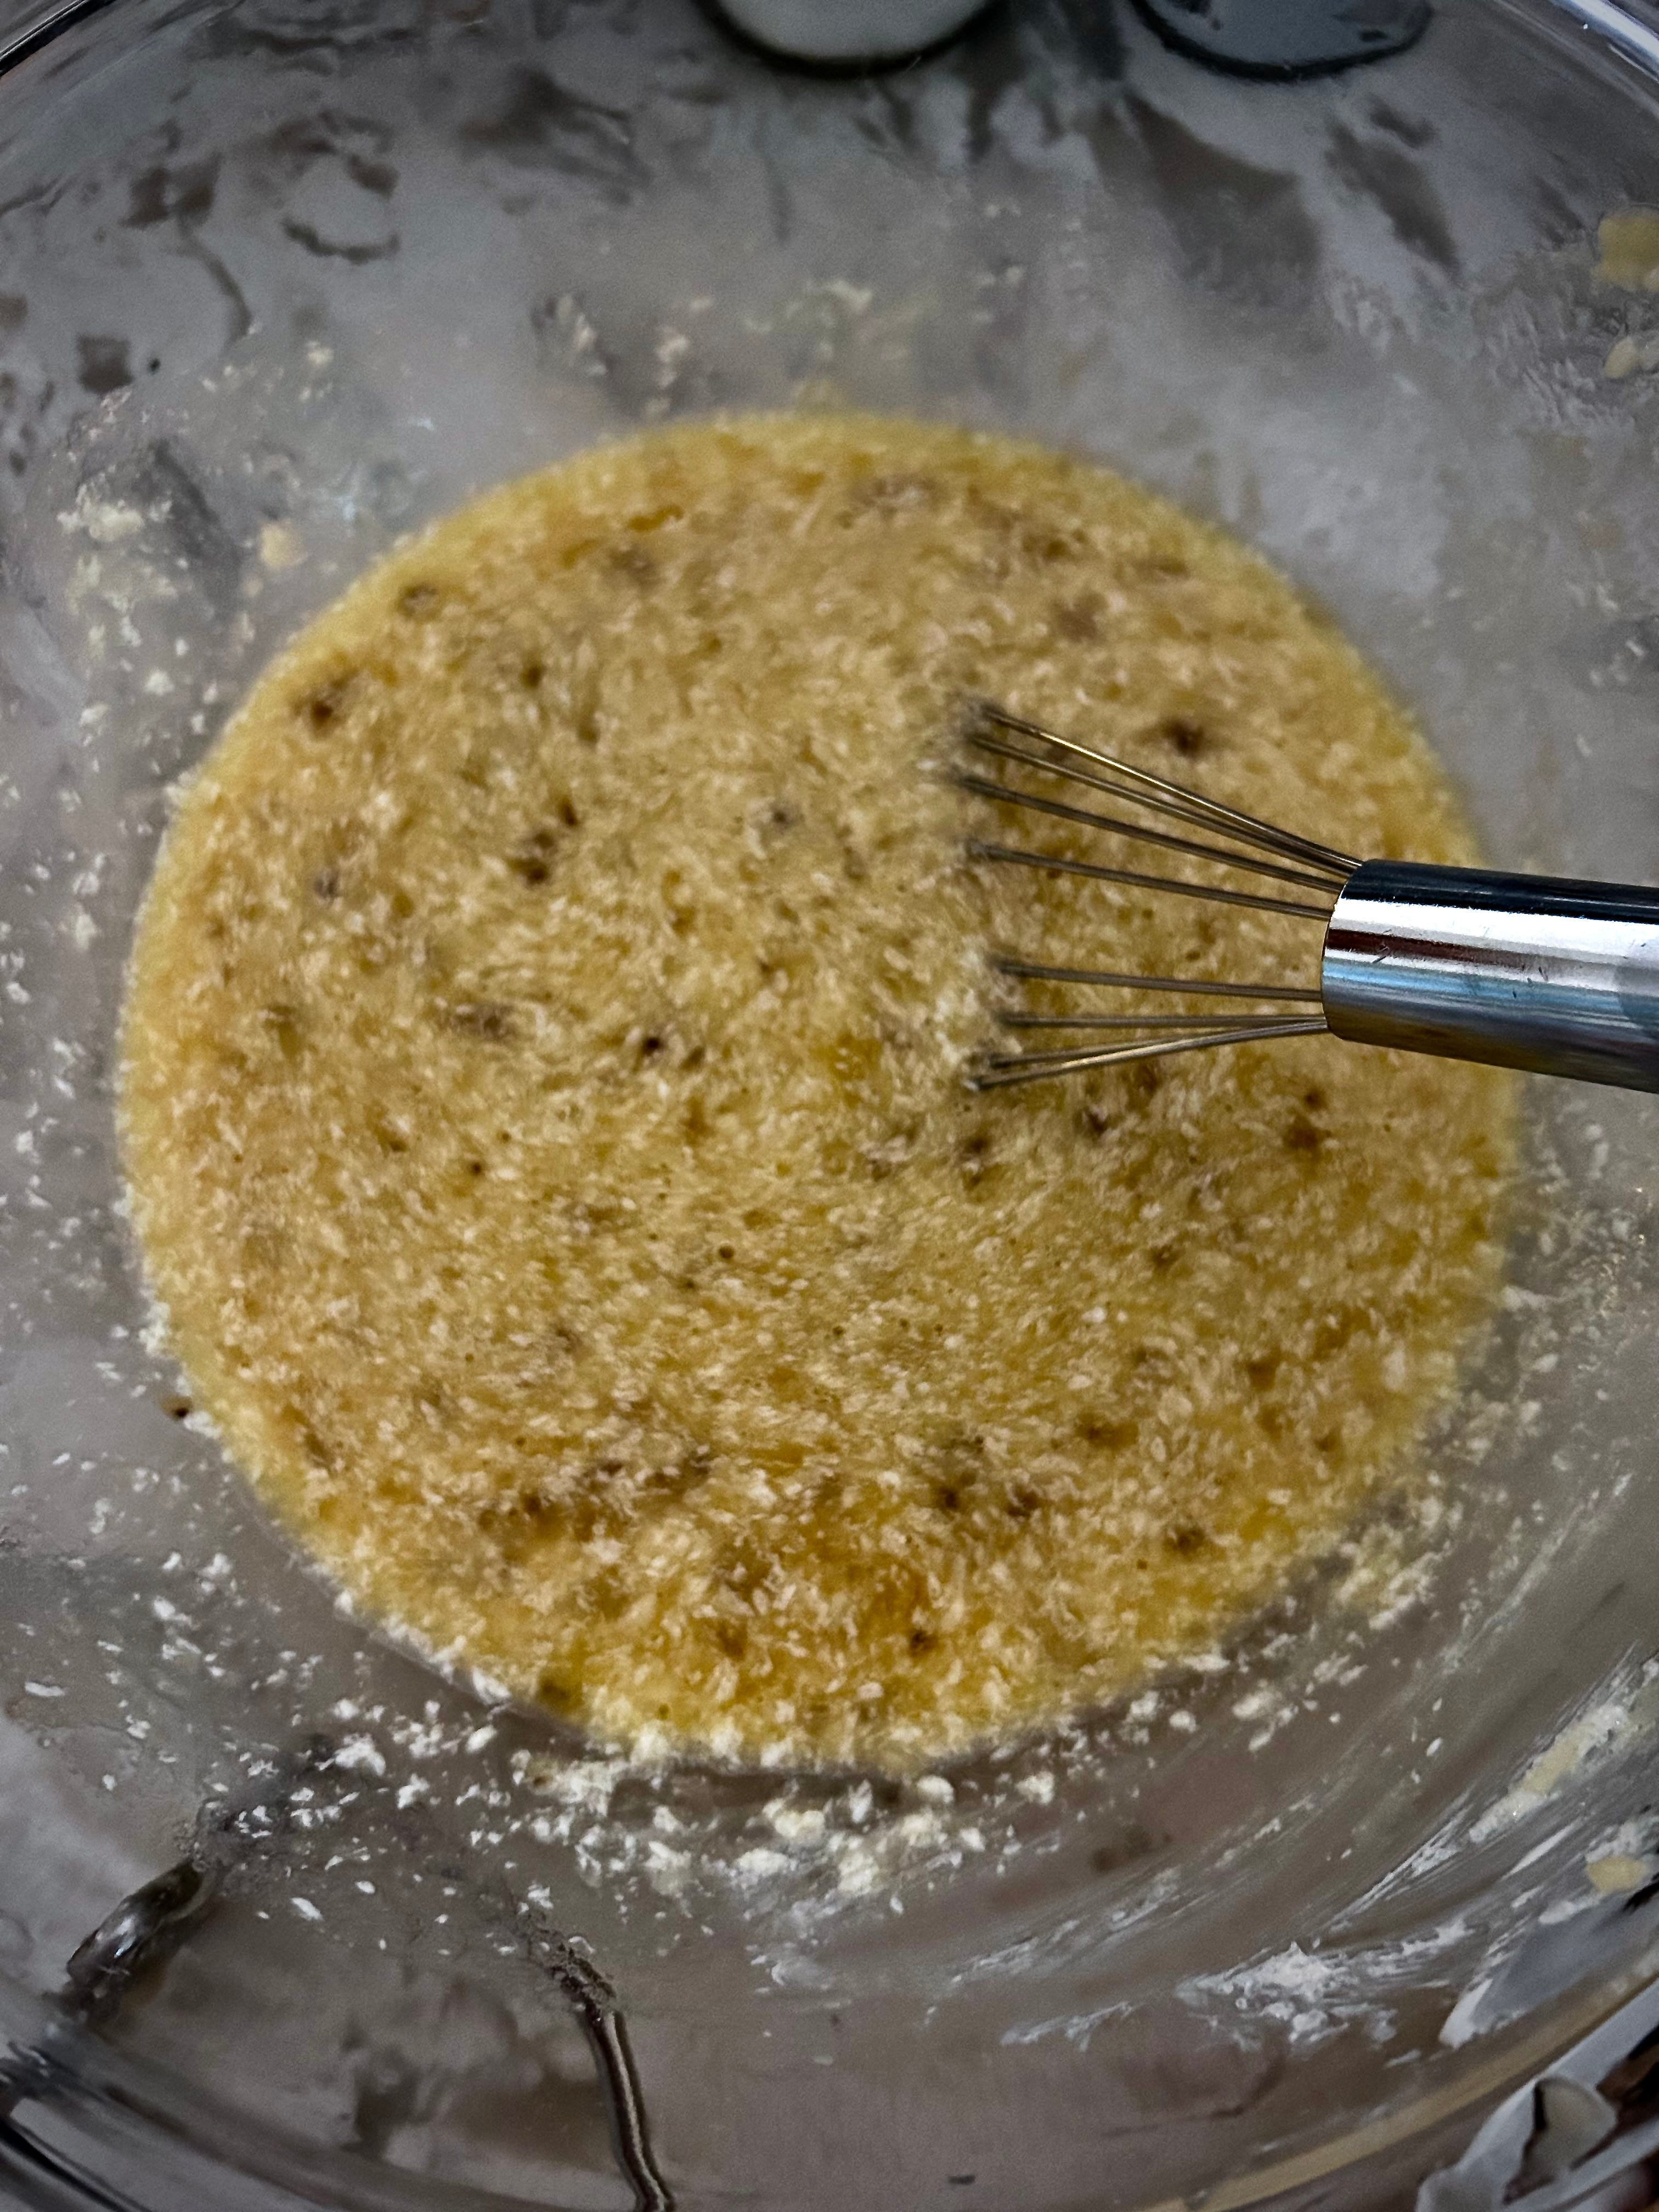
Some utensils you’ll need are two large bowls and a 5 X 8 inch loaf pan. I’ve also found a potato masher comes in handy for mashing the bananas, but a food processer or blender should do the trick, and I like to use a flat whisk to blend the mashed bananas with the eggs, milk, and vanilla, but a spoon or fork should also works.
I hope you’ll try baking this wonderfully fragrant and tasty banana bread. Let me know if you do!
Today I have a special cat update—Seraphina took an 8-hour road trip with me, and, contrary to my expectations for the worst, she was a stellar travel companion! Scroll down for the details.
Ingredients:
For the 1st bowl:
½ cup granulated sugar
½ cup (1 stick) butter
2 or 3 very ripe bananas, mashed (1.5 cups when mashed)
2 eggs
2 tablespoons whole milk
½ teaspoon vanilla
For the 2nd bowl:
2 cups gluten-free flour blend (see note1 on flour blends for baking)
1 teaspoon baking powder
1 teaspoon baking soda
¼ teaspoon fine sea salt
Chunky additions:
½ cup chocolate chips
½ cup chopped walnuts or pecans
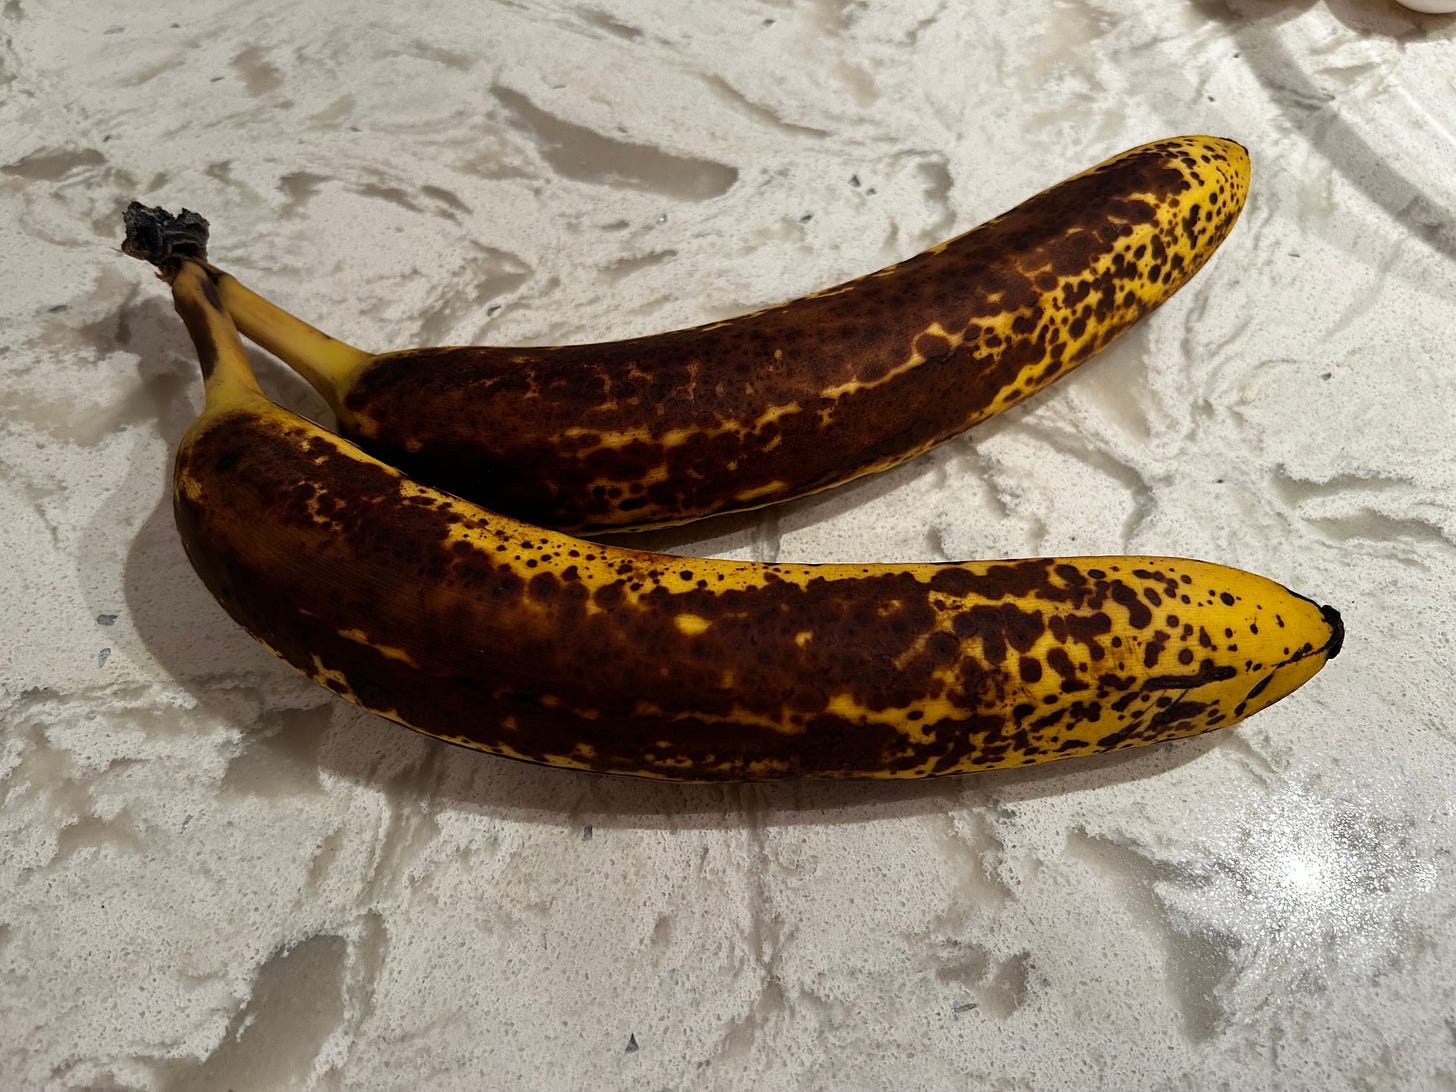
Your bananas should be this ripe when you use them for banana bread. 
All the ingredients you’ll need. In the lower left corner, you can see the type of potato masher I used to smash the bananas.

Instructions:
Preheat oven to 350 F (325 F convection/fan)
Mash the bananas (I use a potato masher as in the photo above, but a food processor or blender should work fine)
In one large bowl, combine the gluten-free flour, baking powder, baking soda, and salt
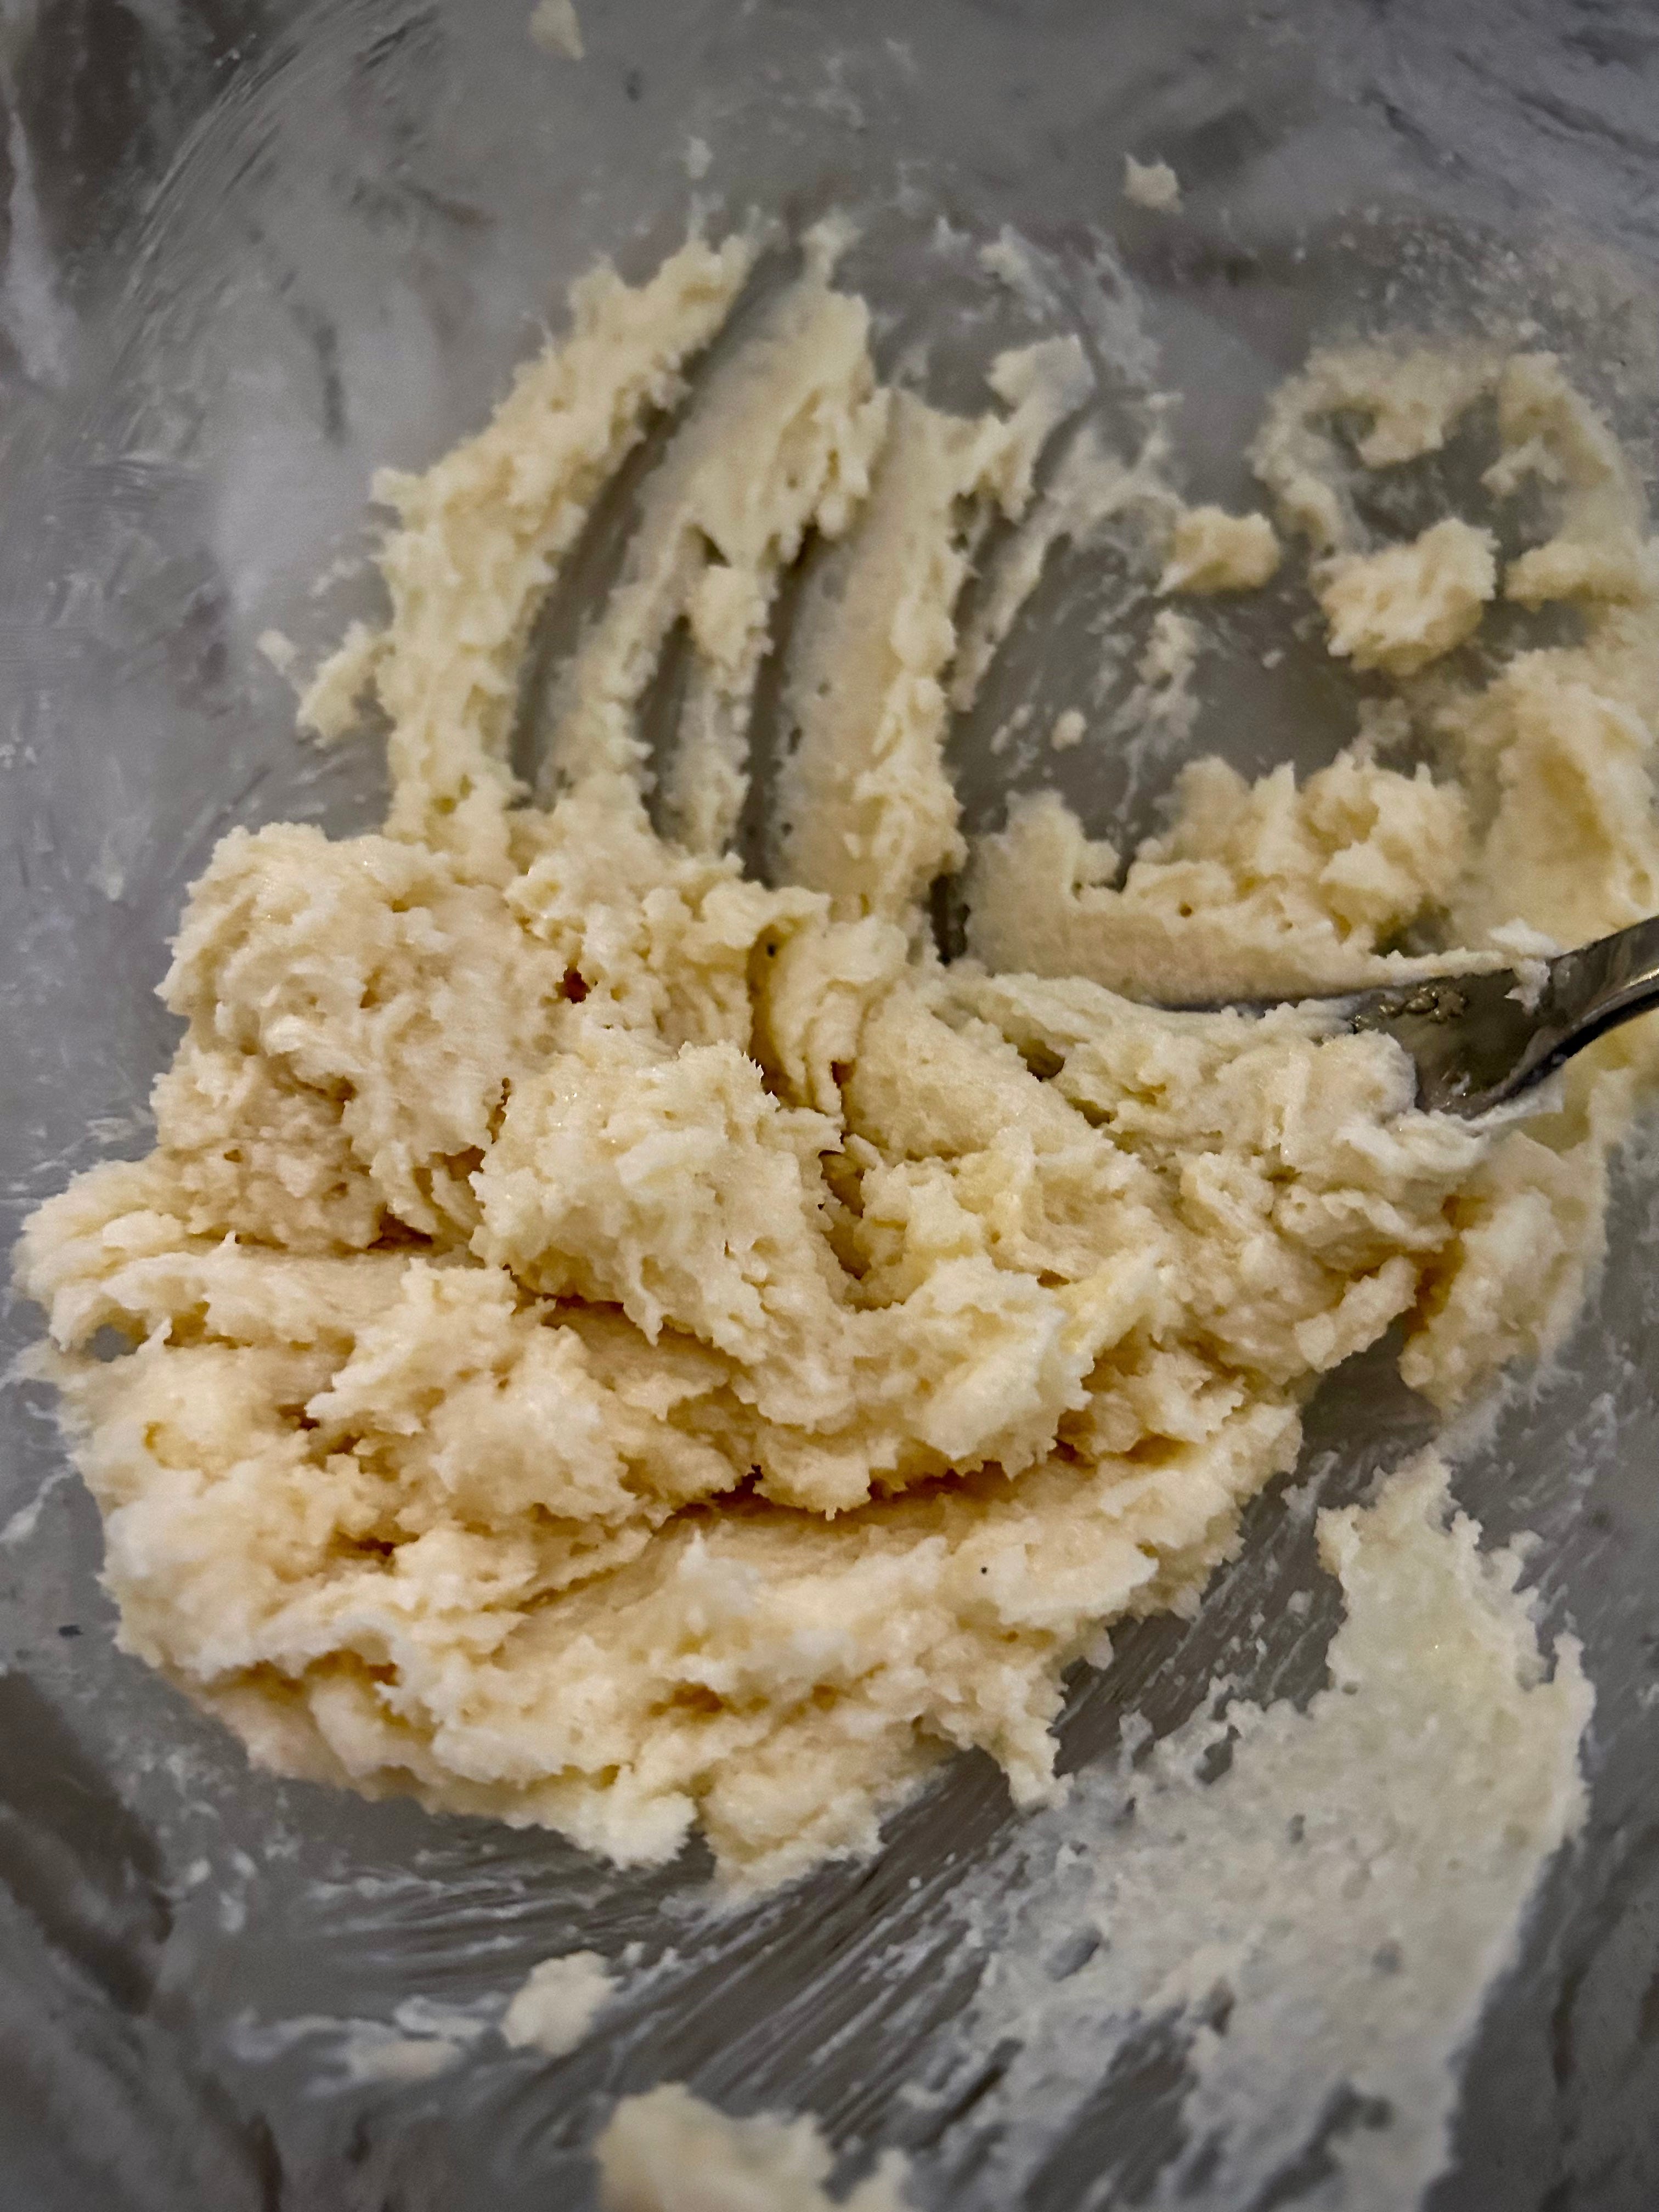
In a second large bowl, cream the butter and sugar with a fork
Add the mashed bananas, eggs, milk, and vanilla to the butter/sugar mixture and blend thoroughly using the fork or a flat whisk
Pour banana mixture into the flour mixture and mix with a large spoon
Add chocolate chips and chopped nuts and mix until they are evenly distributed
Pour the batter into a buttered loaf pan and bake until an inserted toothpick or knife blade comes out clean (about 50 minutes to 1 hour)
Let the loaf cool for 15 minutes before removing it from the pan

Cat Update: Road Trip!
Seraphina hates going in her travel carrier. It’s a top-loading carrier, and it’s pretty roomy for an 8-pound cat, but she seems to think of it as a cage, so that’s what I call it. We typically use the cage to go to the veterinarian for her annual checkup. When she sees it come out of storage, she instinctively shies away from it, so I have to let the cage sit out for at least a week before we’re going to use it, so she can get used to it being around. When I make my move to stealthily grab her and put her in the cage, she squirms and panics, and once inside, she cries pitifully until she’s out again. There was one time we had to drive over an hour to a vet for dental surgery, and her screaming the entire way was heartbreaking—she made me cry.
So I was truly dreading the trip we were scheduled to take from Washington, DC, to Aiken, SC, where our new house is—an 8-hour drive. I wanted Seraphina to start getting used to the new house, even though a full move is still in the future.
I was even planning to let her out of her cage so she could roam around the inside of the car if that’s what it took to calm her down. But that wasn’t necessary. She barely made a peep from the moment the top of the carrier locked into place until she was set free on the new house’s hardwood floor. She even ate her lunch on a picnic table at an interstate rest stop, where she found all the activity of other travelers to be fascinating, then fell asleep in her cage when the ride resumed.
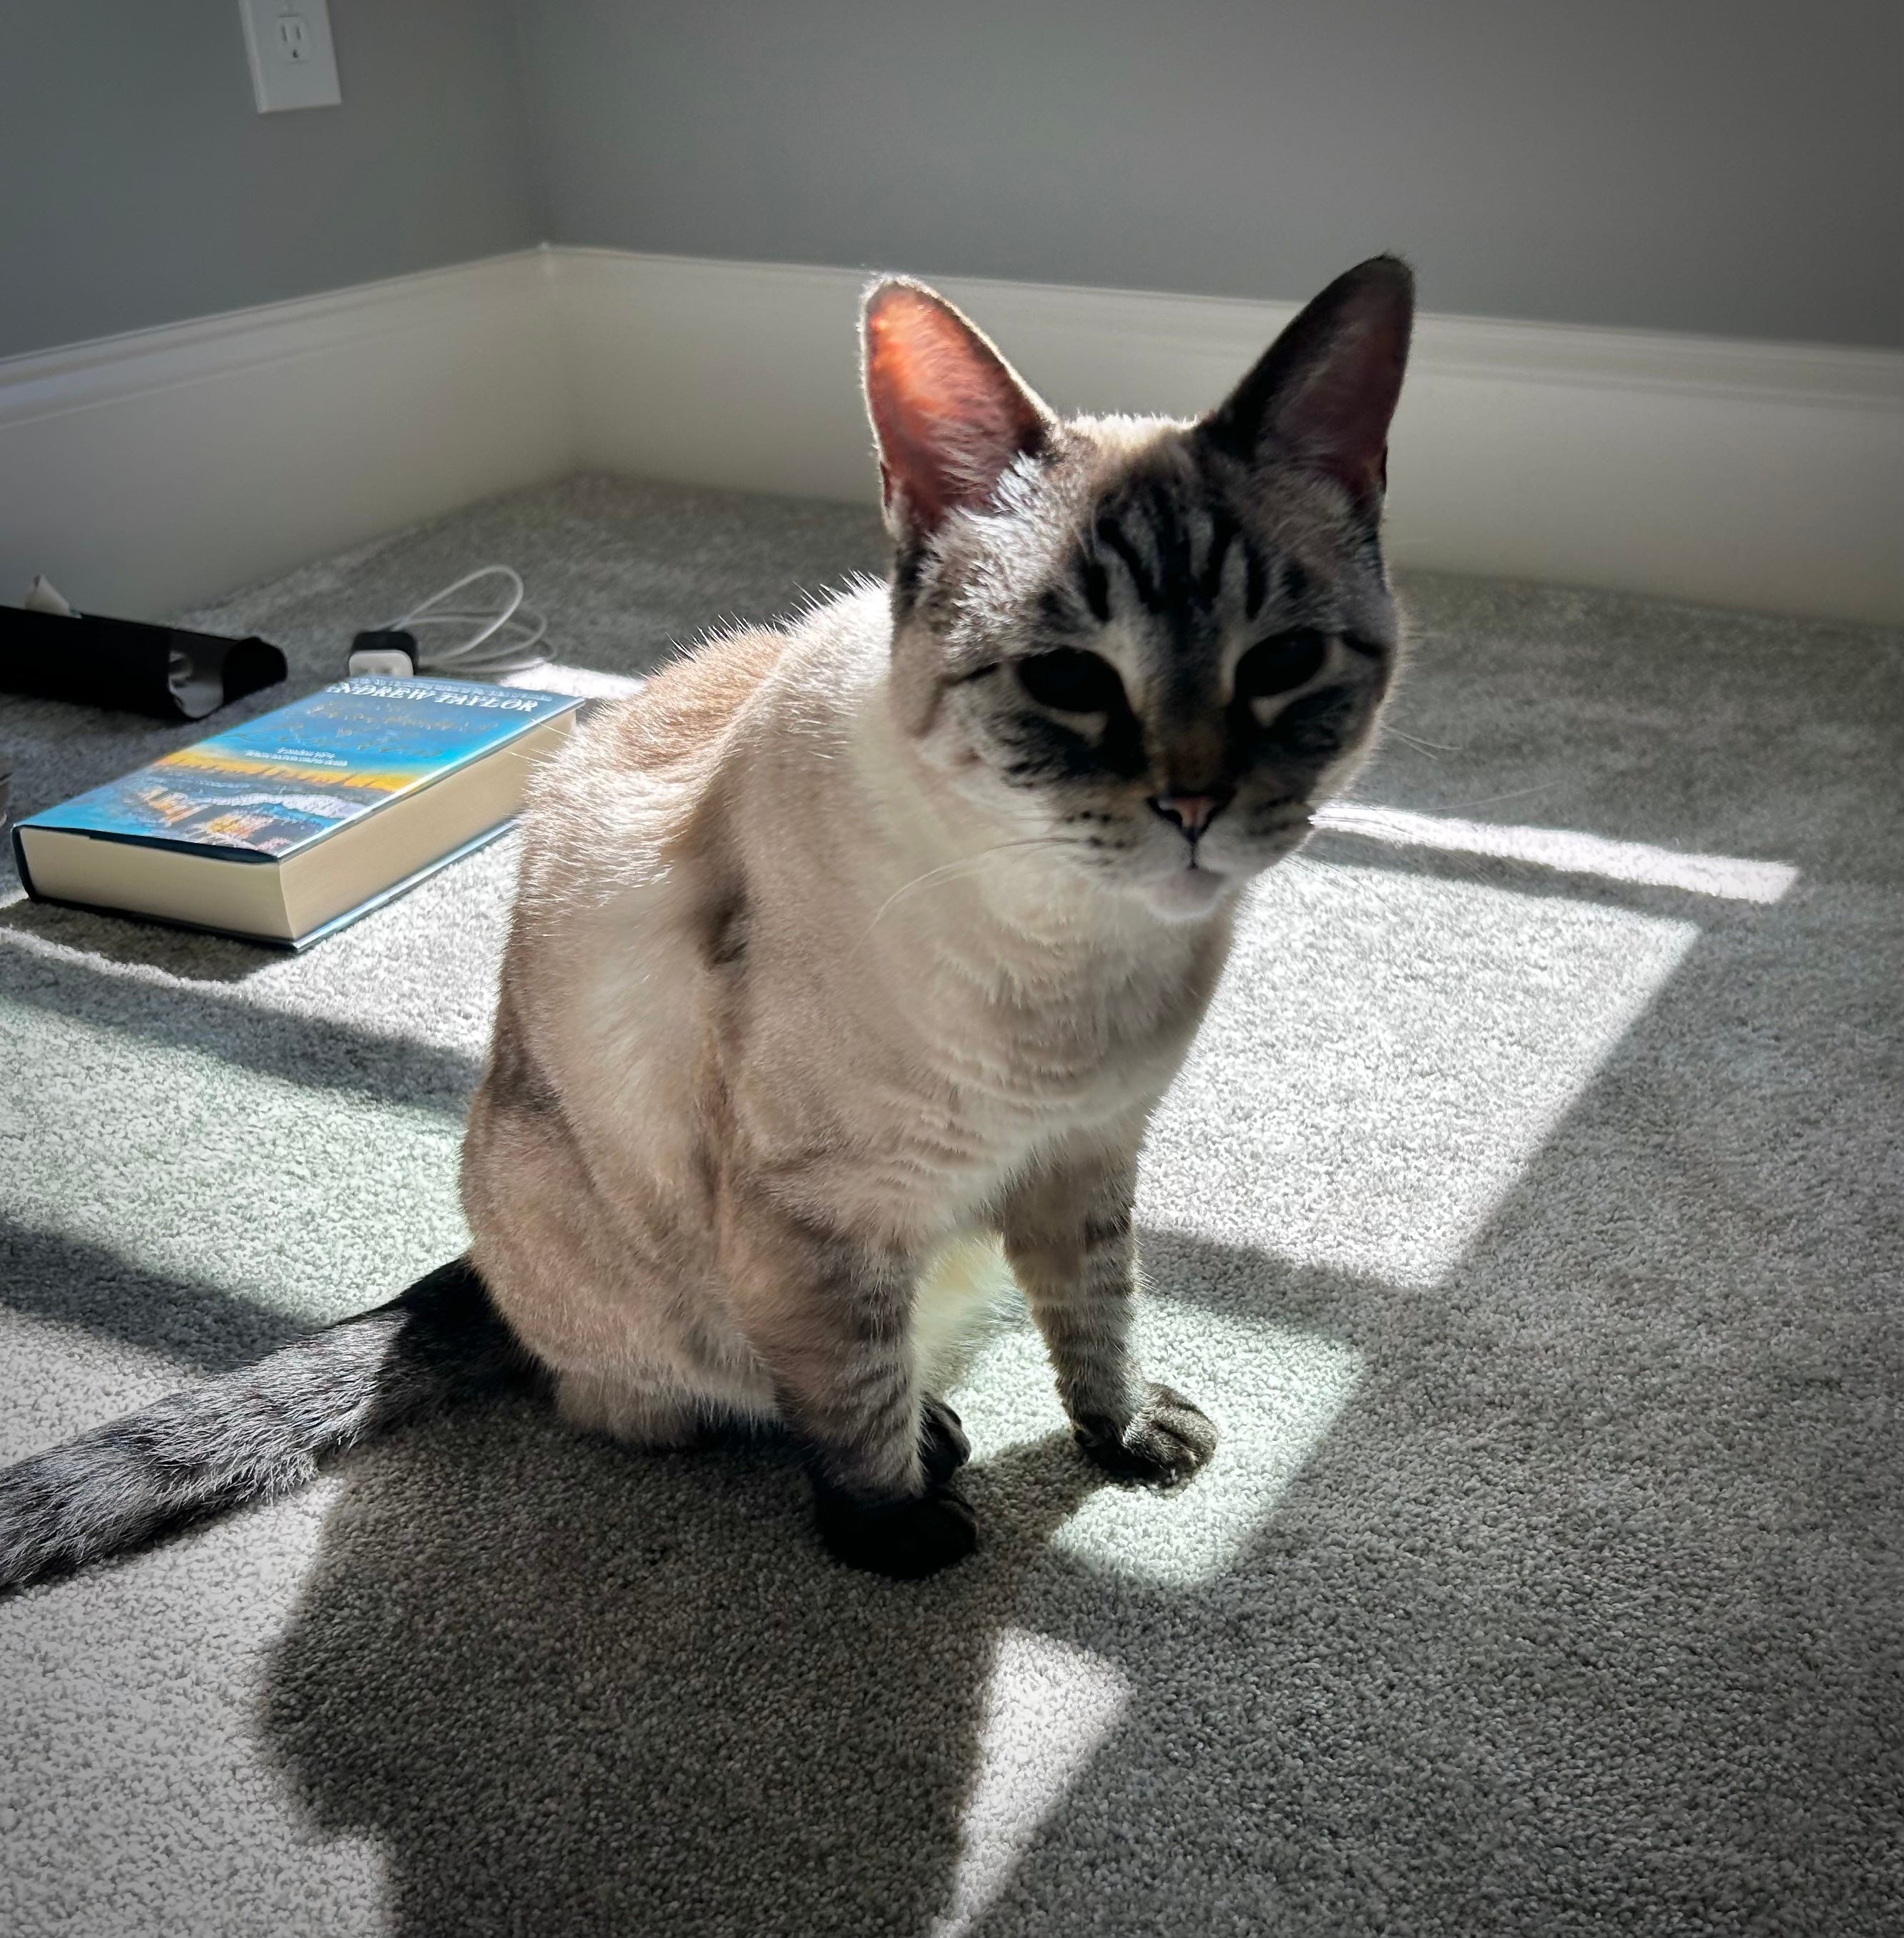
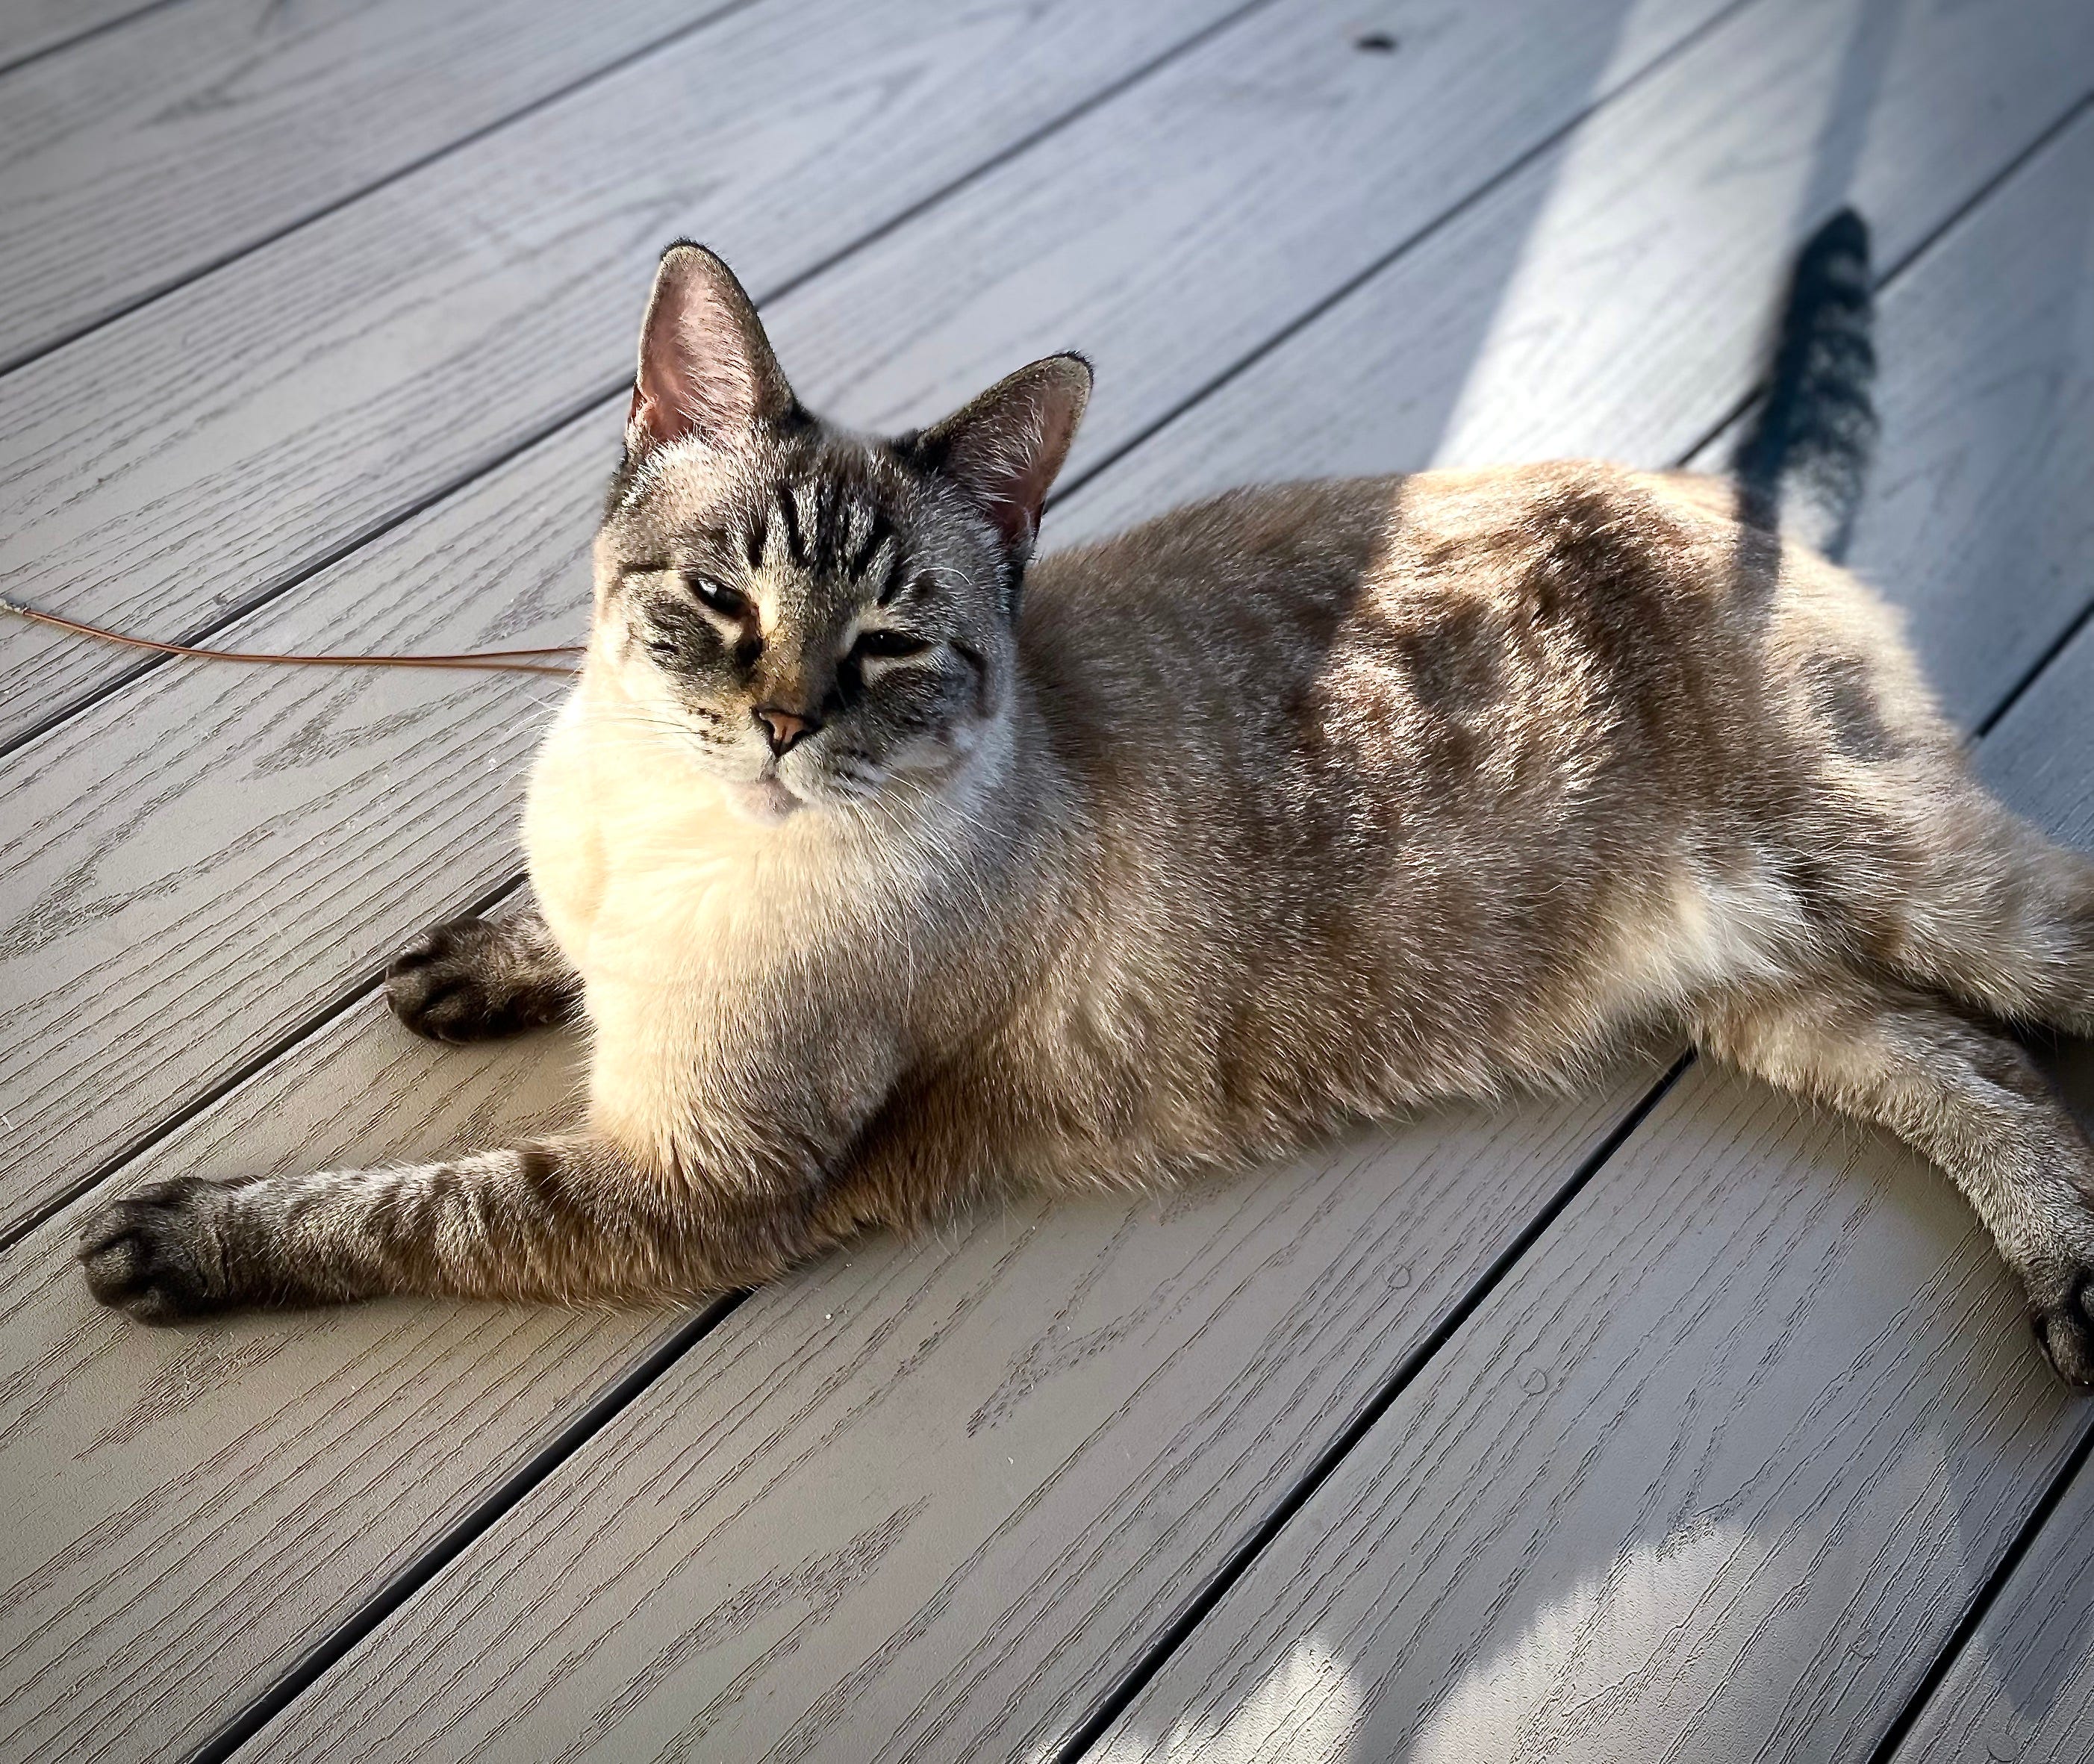
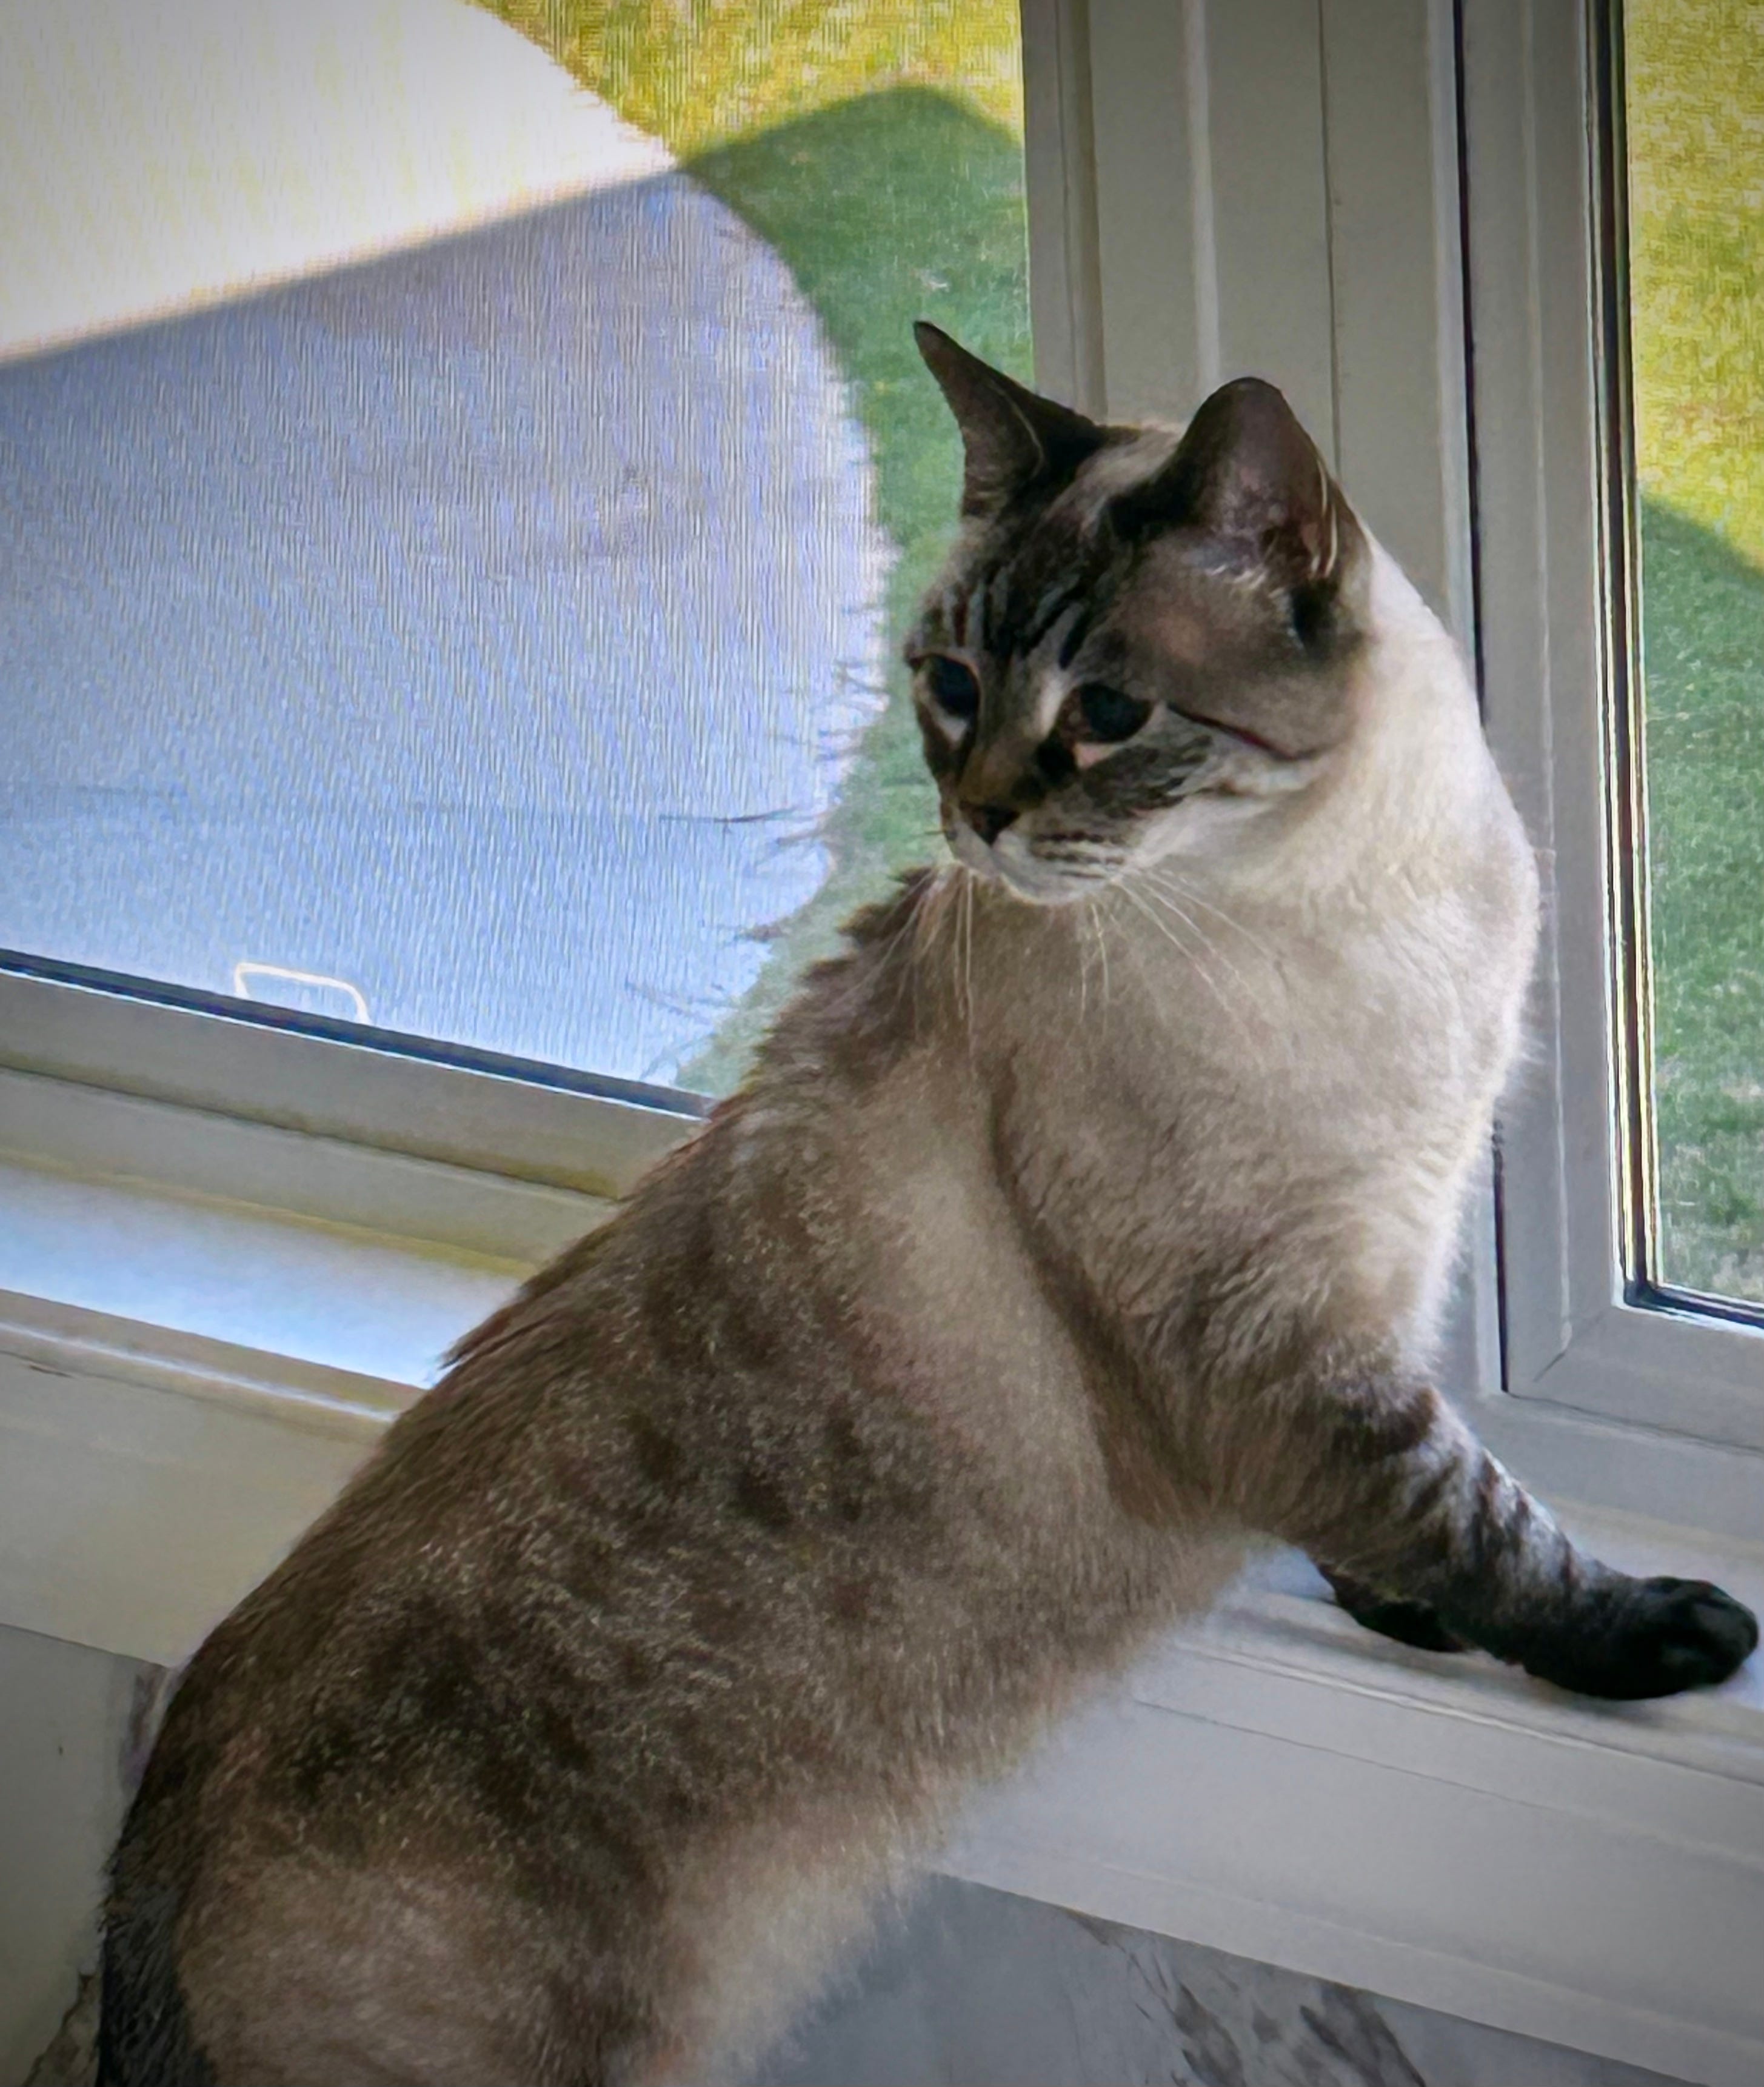
I was astounded by her behavior, given my previous experiences with her. But I’m extremely relieved that she wasn’t traumatized by the move, and that she seems to be taking to her new space very well. She’s explored all the rooms, checked out the new scenery through the windows, played with her new toy (a catnip-stuffed cucumber), and already found the best spots for sunbathing (see photos)!
As in other baked treats I’ve featured (like this one for chocolate chip cookies or zucchini spice bread), I really like using King Arthur Gluten-Free Measure for Measure Flour for this. I’ve seen recipes that call for Bob’s Red Mill Gluten-Free 1-to-1 Baking Flour, and I know there are some bakers who prefer this brand. Other than the fact that I always get very good results from this flour, a reason I prefer King Arthur is that it is more budget-conscious to use and comes in bigger bags than most gluten-free flour blends. Make sure any gluten-free flour you use for baking contains xanthan gum, or be prepared to add your own.
This looks delicious and I happen to have some overripe bananas!! I always forget to take the butter & eggs out of the fridge- when I do I warm them up quickly by filling a bowl with hot tap water and popping the eggs in, they warm right up, then I dump out the water put the butter sticks in the warm steamy bowl and put a plate on top to trap the steam- in a few minutes they are soft too!!! I’m going to give this a try!!!
Yum - can't wait to make this recipe!